Most B2B SaaS notification systems end up with a lot of glue code. You're translating webhooks from your auth provider into API calls against your messaging tool, mapping organizations to tenants, syncing user properties, and routing per-org integrations like Slack. None of it is the part you actually wanted to build.
In this tutorial, we'll wire Clerk into Knock and skip almost all of that work. By the end, new sign-ups in Clerk will automatically trigger a multi-step welcome flow in Knock, and each Clerk organization will have its own Slack integration scoped to its tenant.
Video walkthrough
If you prefer to learn with video, watch it here.
What we'll build
By the end of this tutorial, you'll have:
- A live webhook bridge from Clerk to Knock that keeps users and organizations in sync without any custom code.
- A welcome workflow generated by the Knock agent that fires on
user.created, sends an in-app notification, waits three minutes, then sends an email. - A drop-in notification preferences UI inside Clerk's user profile.
- Per-organization Slack auth and channel selection, scoped to Clerk organizations as Knock tenants.
Prerequisites
You'll need:
- A Knock account (free tier is fine).
- A Clerk application with at least one user and one organization to test against.
- A Next.js app using
@clerk/nextjsand@knocklabs/react. The React snippets below assume Next.js but the pattern works in any React app Clerk supports.
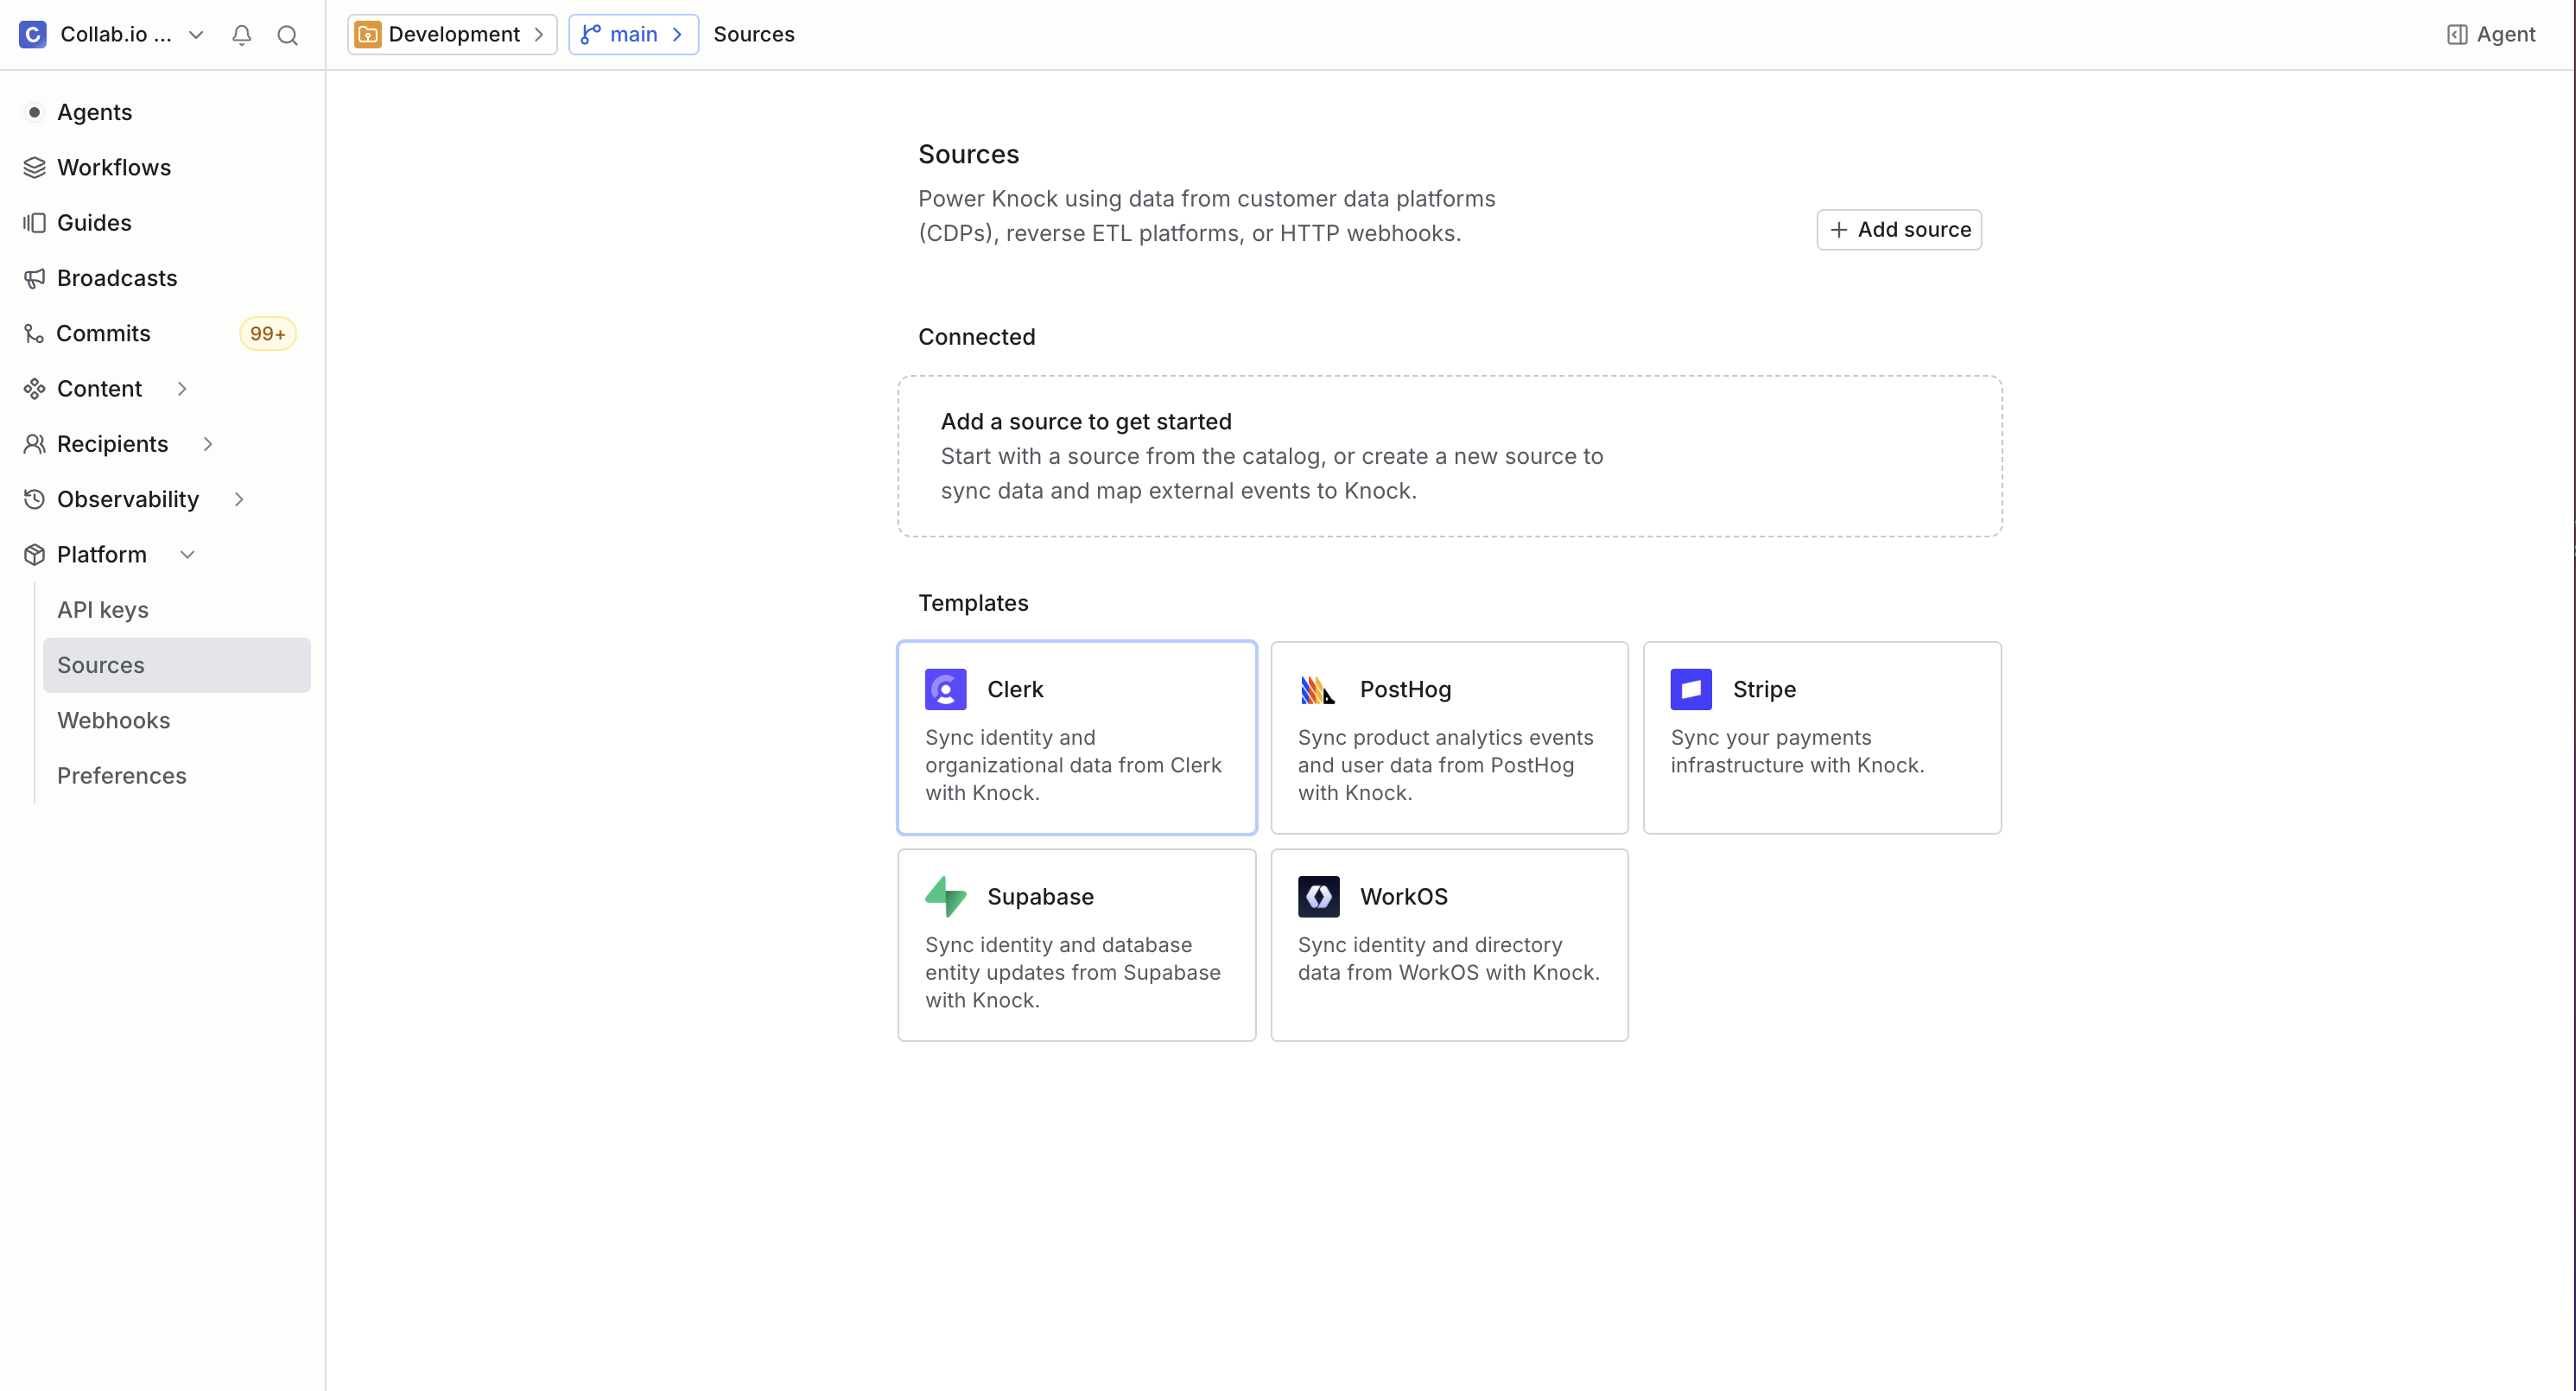
Connect Clerk to Knock with a data source
Knock data sources ingest events from external platforms and translate them into Knock primitives like users, tenants, and workflow triggers. The Clerk source ships with the mappings already defined, so most of this section is plumbing the webhook between the two systems. The full reference for every event the Clerk source supports lives in the Clerk source docs. Keep that page open in another tab if you want to dig deeper as you go.
Create the Clerk source in Knock
- In the Knock dashboard, go to Sources and click Create source.
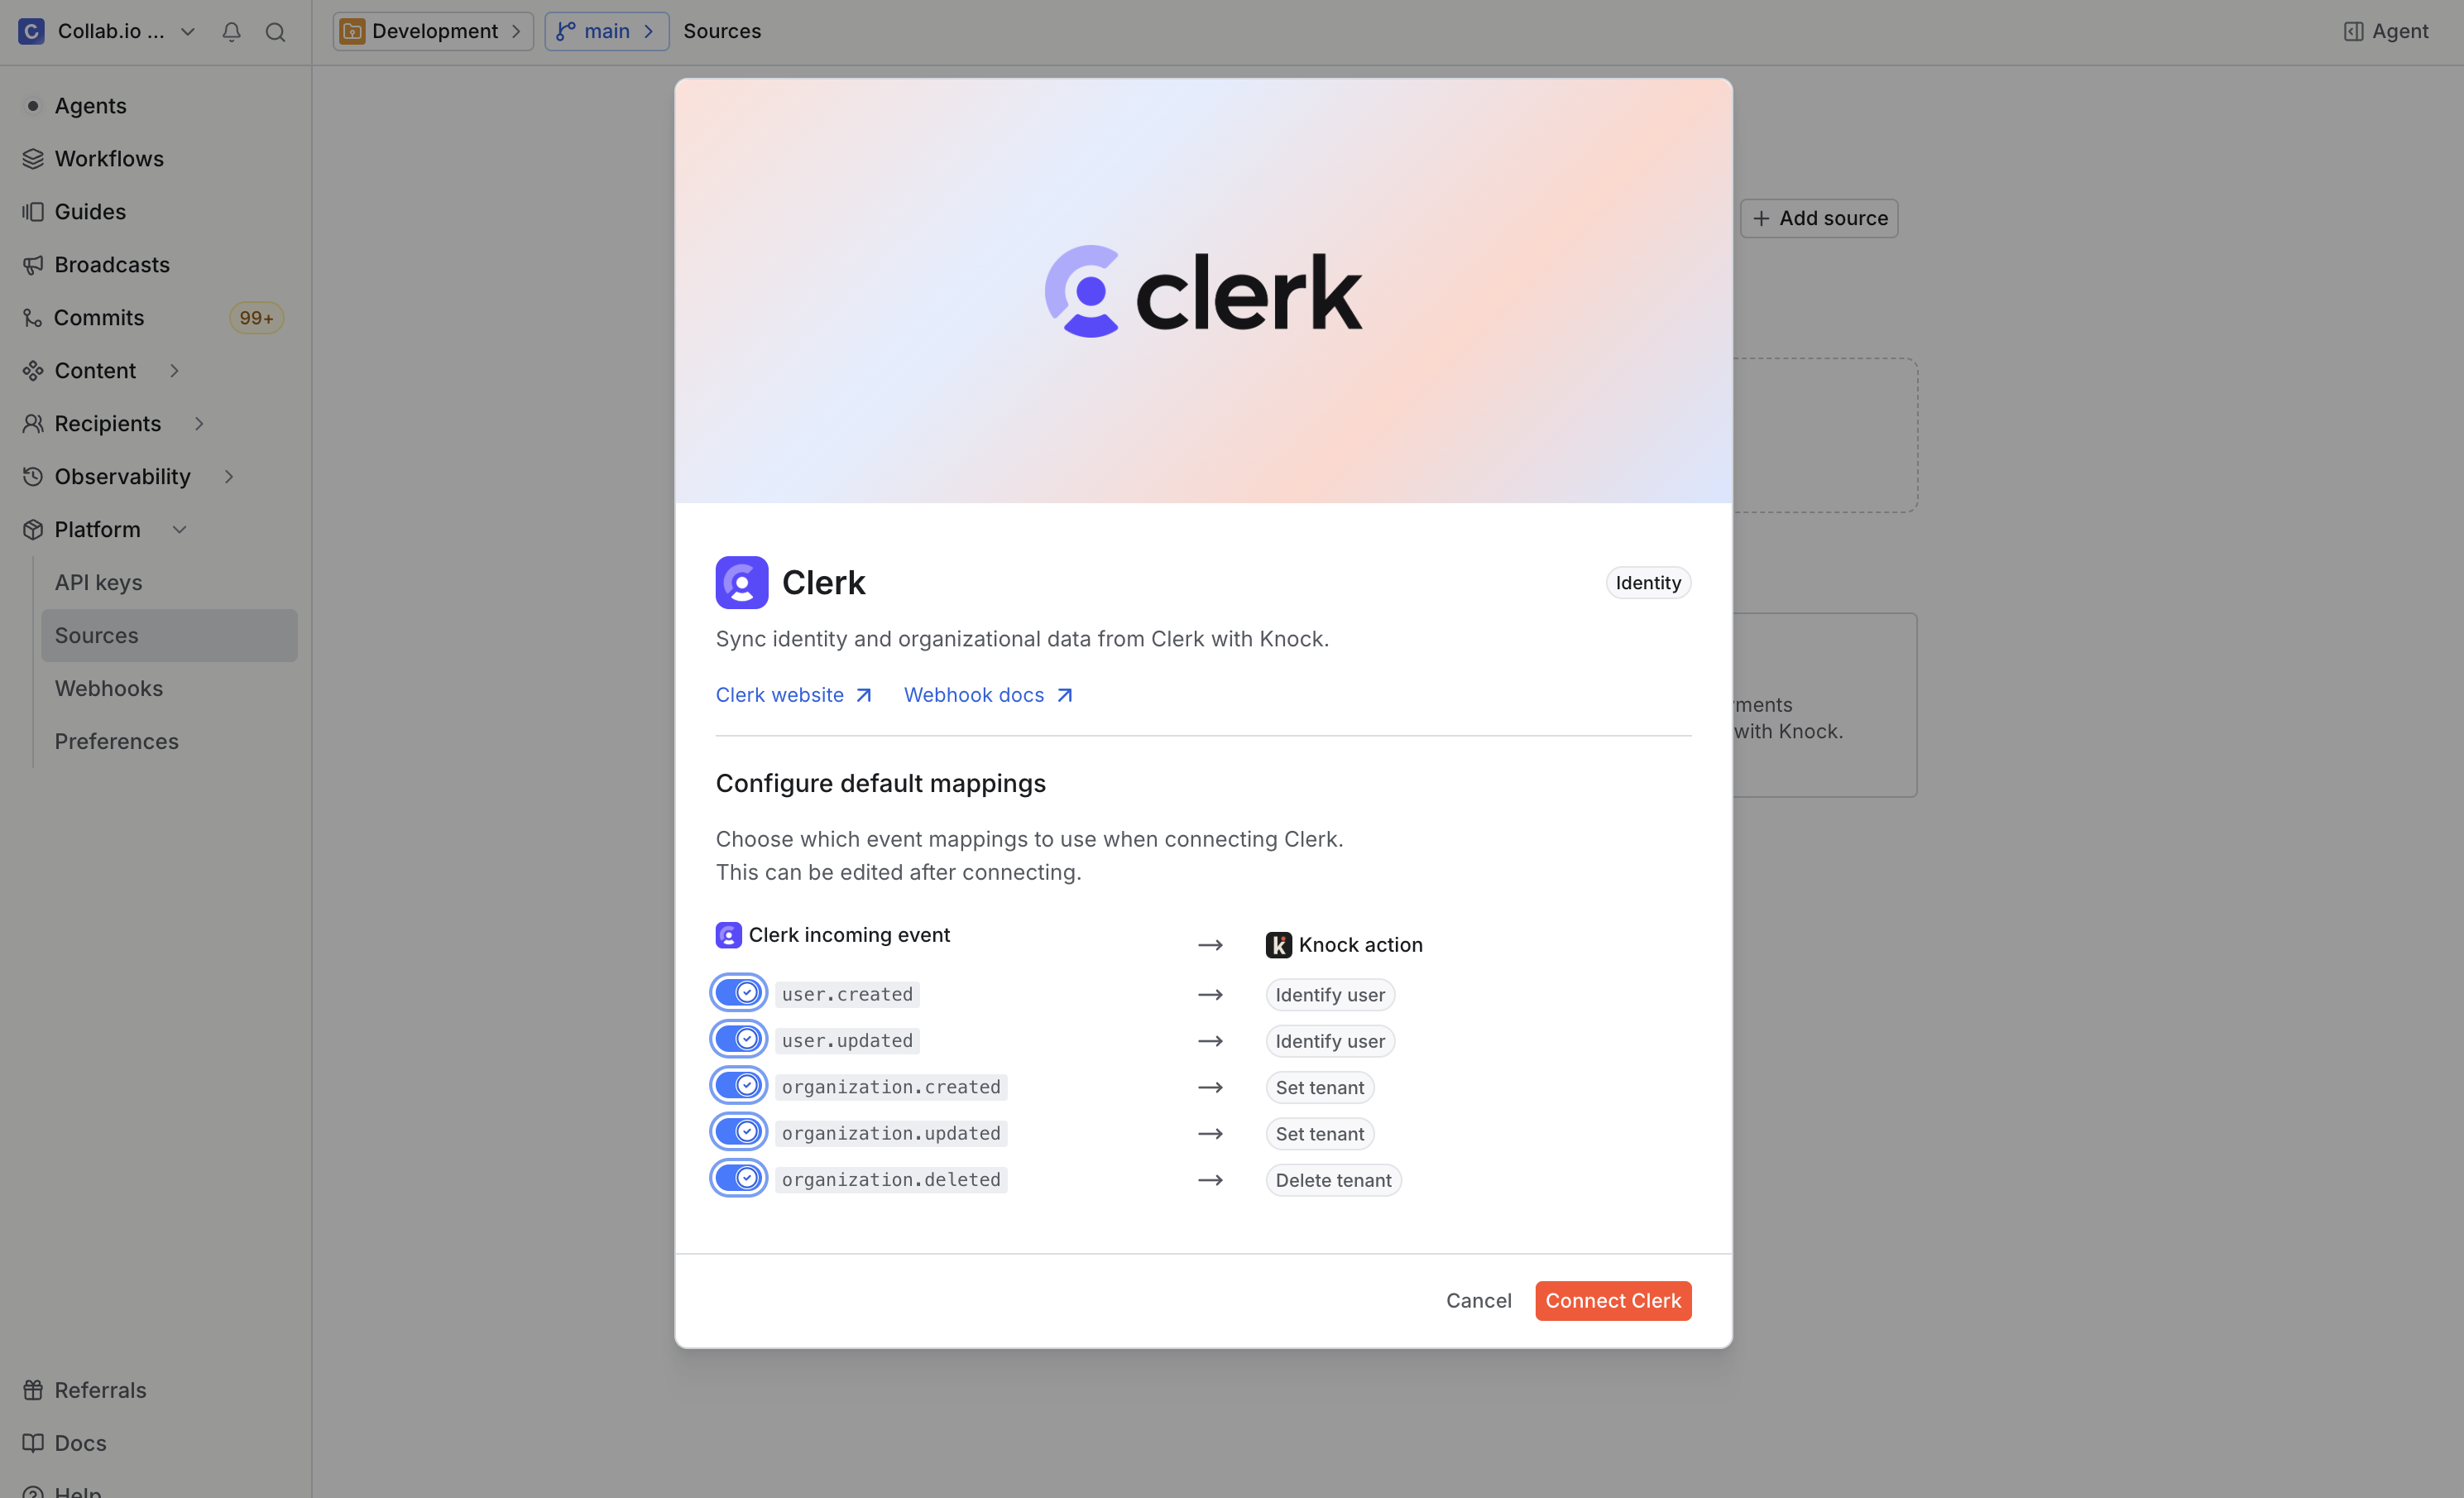
- Select Clerk from the source templates.
- Click Connect. Knock generates a webhook URL. Copy it; you'll paste it into Clerk in the next step.
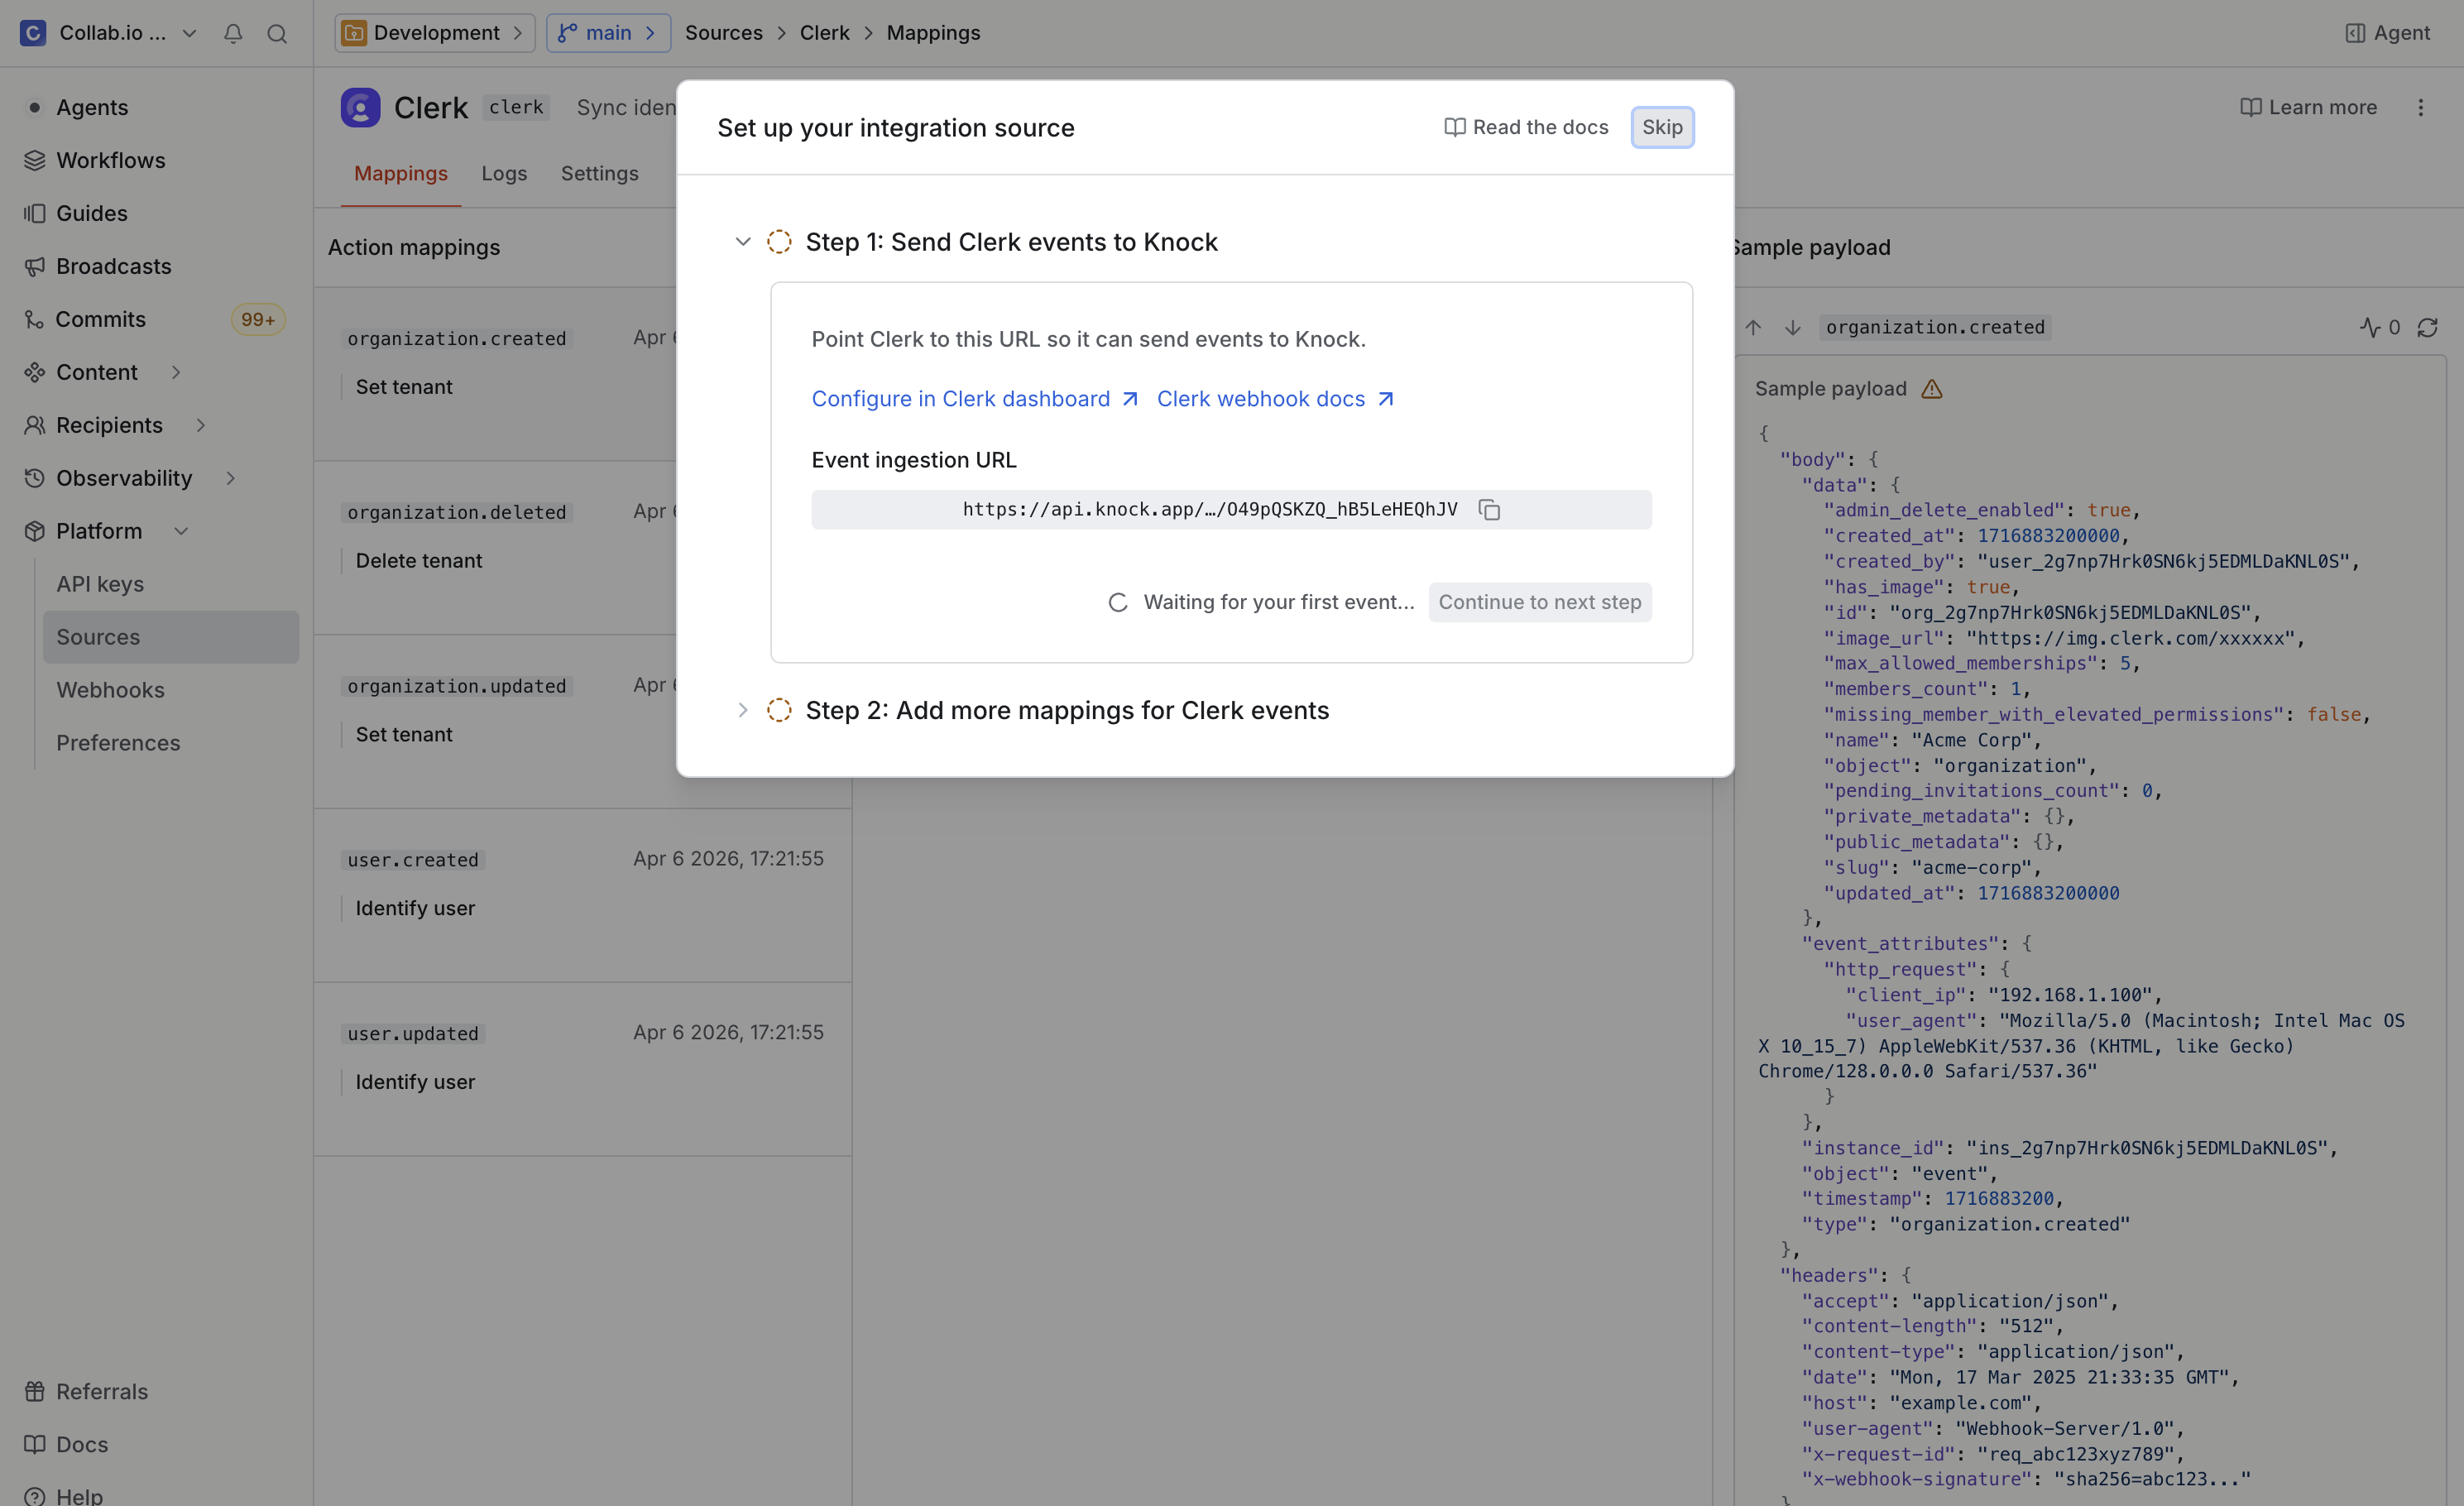
The Clerk source comes pre-configured with event action mappings: organization events become tenant operations, and user events become identify calls and workflow triggers. You can review the defaults from the source's Event action mappings panel, and we'll customize one of these mappings later in the tutorial.
Point Clerk's webhooks at Knock
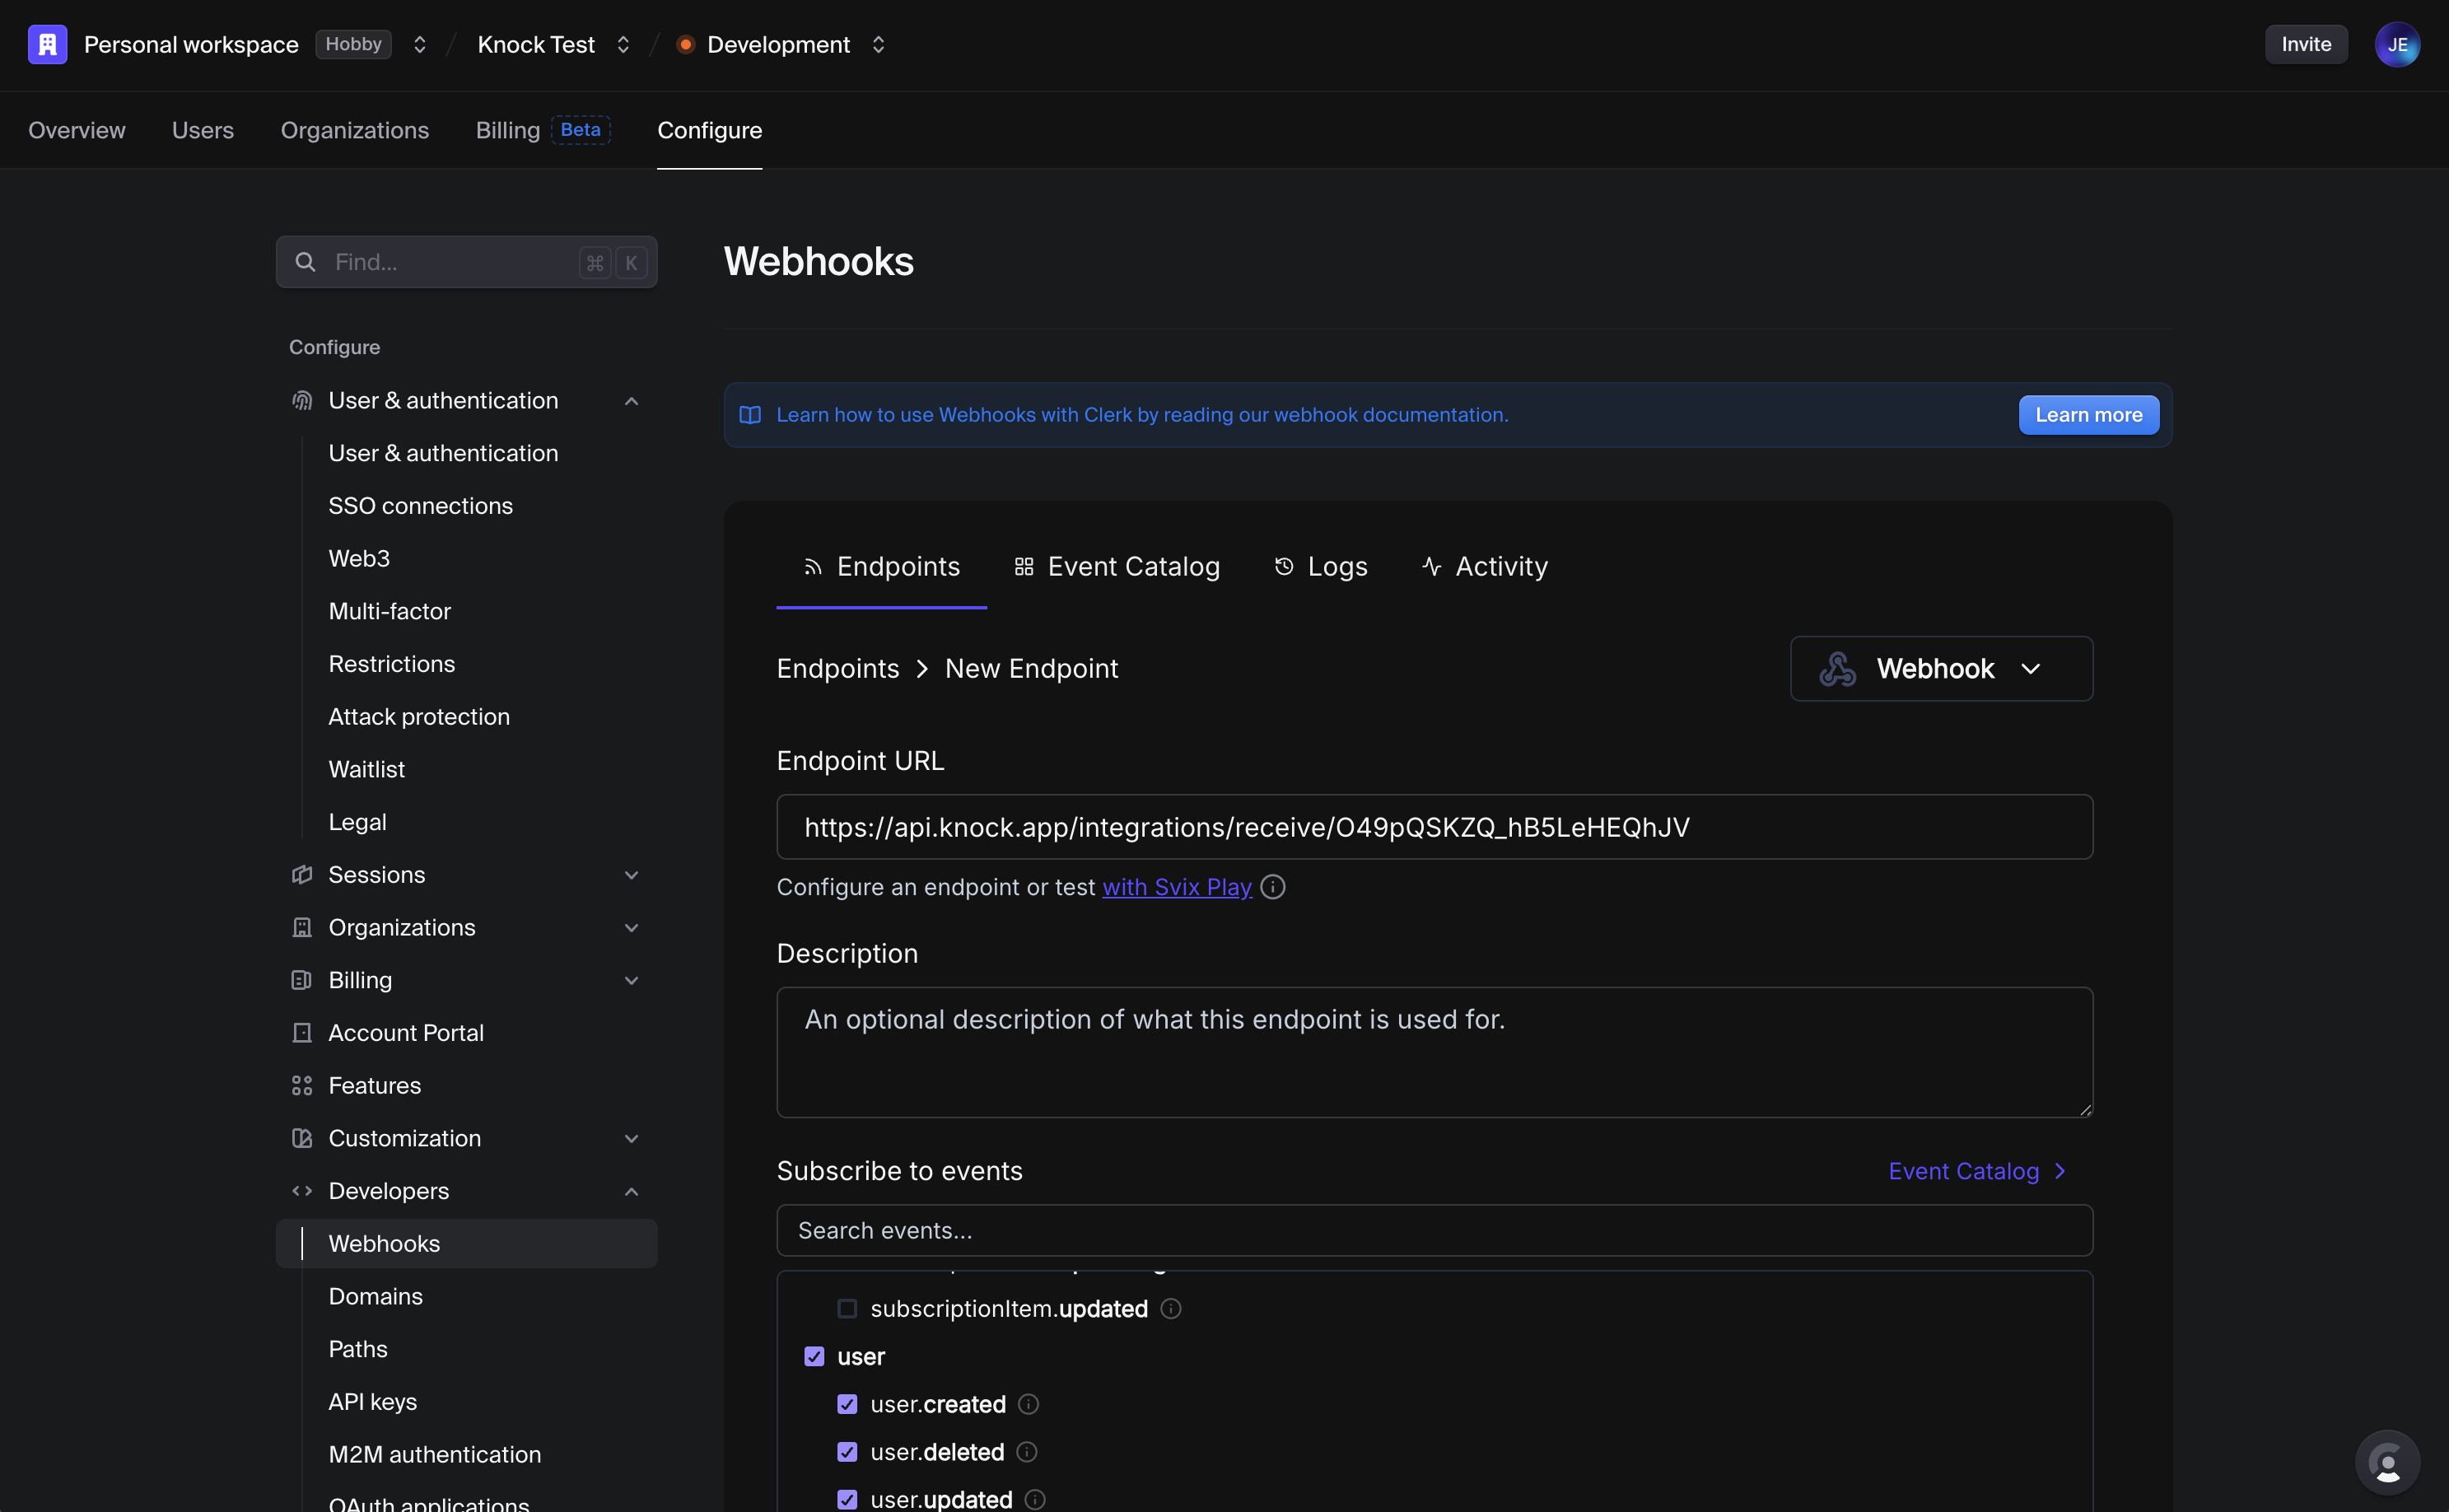
- In the Clerk dashboard, go to Developers > Webhooks and click Add Endpoint.
- Paste the Knock webhook URL into the Endpoint URL field.
- Subscribe to the user and organization event groups (
user.*andorganization.*). - Save the endpoint.
Verify events are flowing
Before we add signature verification, send an unsigned test event so we know the wiring is correct.
- In Clerk, open the new endpoint's Testing tab and select
user.created. - Click Send Example.
- Switch to your Knock source and open Source logs. You should see the event arrive within a few seconds.
Seeing the event in source logs confirms that Clerk can reach Knock. The verification check will fail at this point, which is expected because we haven't given Knock the signing secret yet.
Add signature verification
Clerk signs every webhook with a per-endpoint secret. Knock checks the signature on every request and rejects anything that doesn't match.
- In Clerk's webhook settings, click the Signing Secret field to reveal the secret.
- Copy the secret.
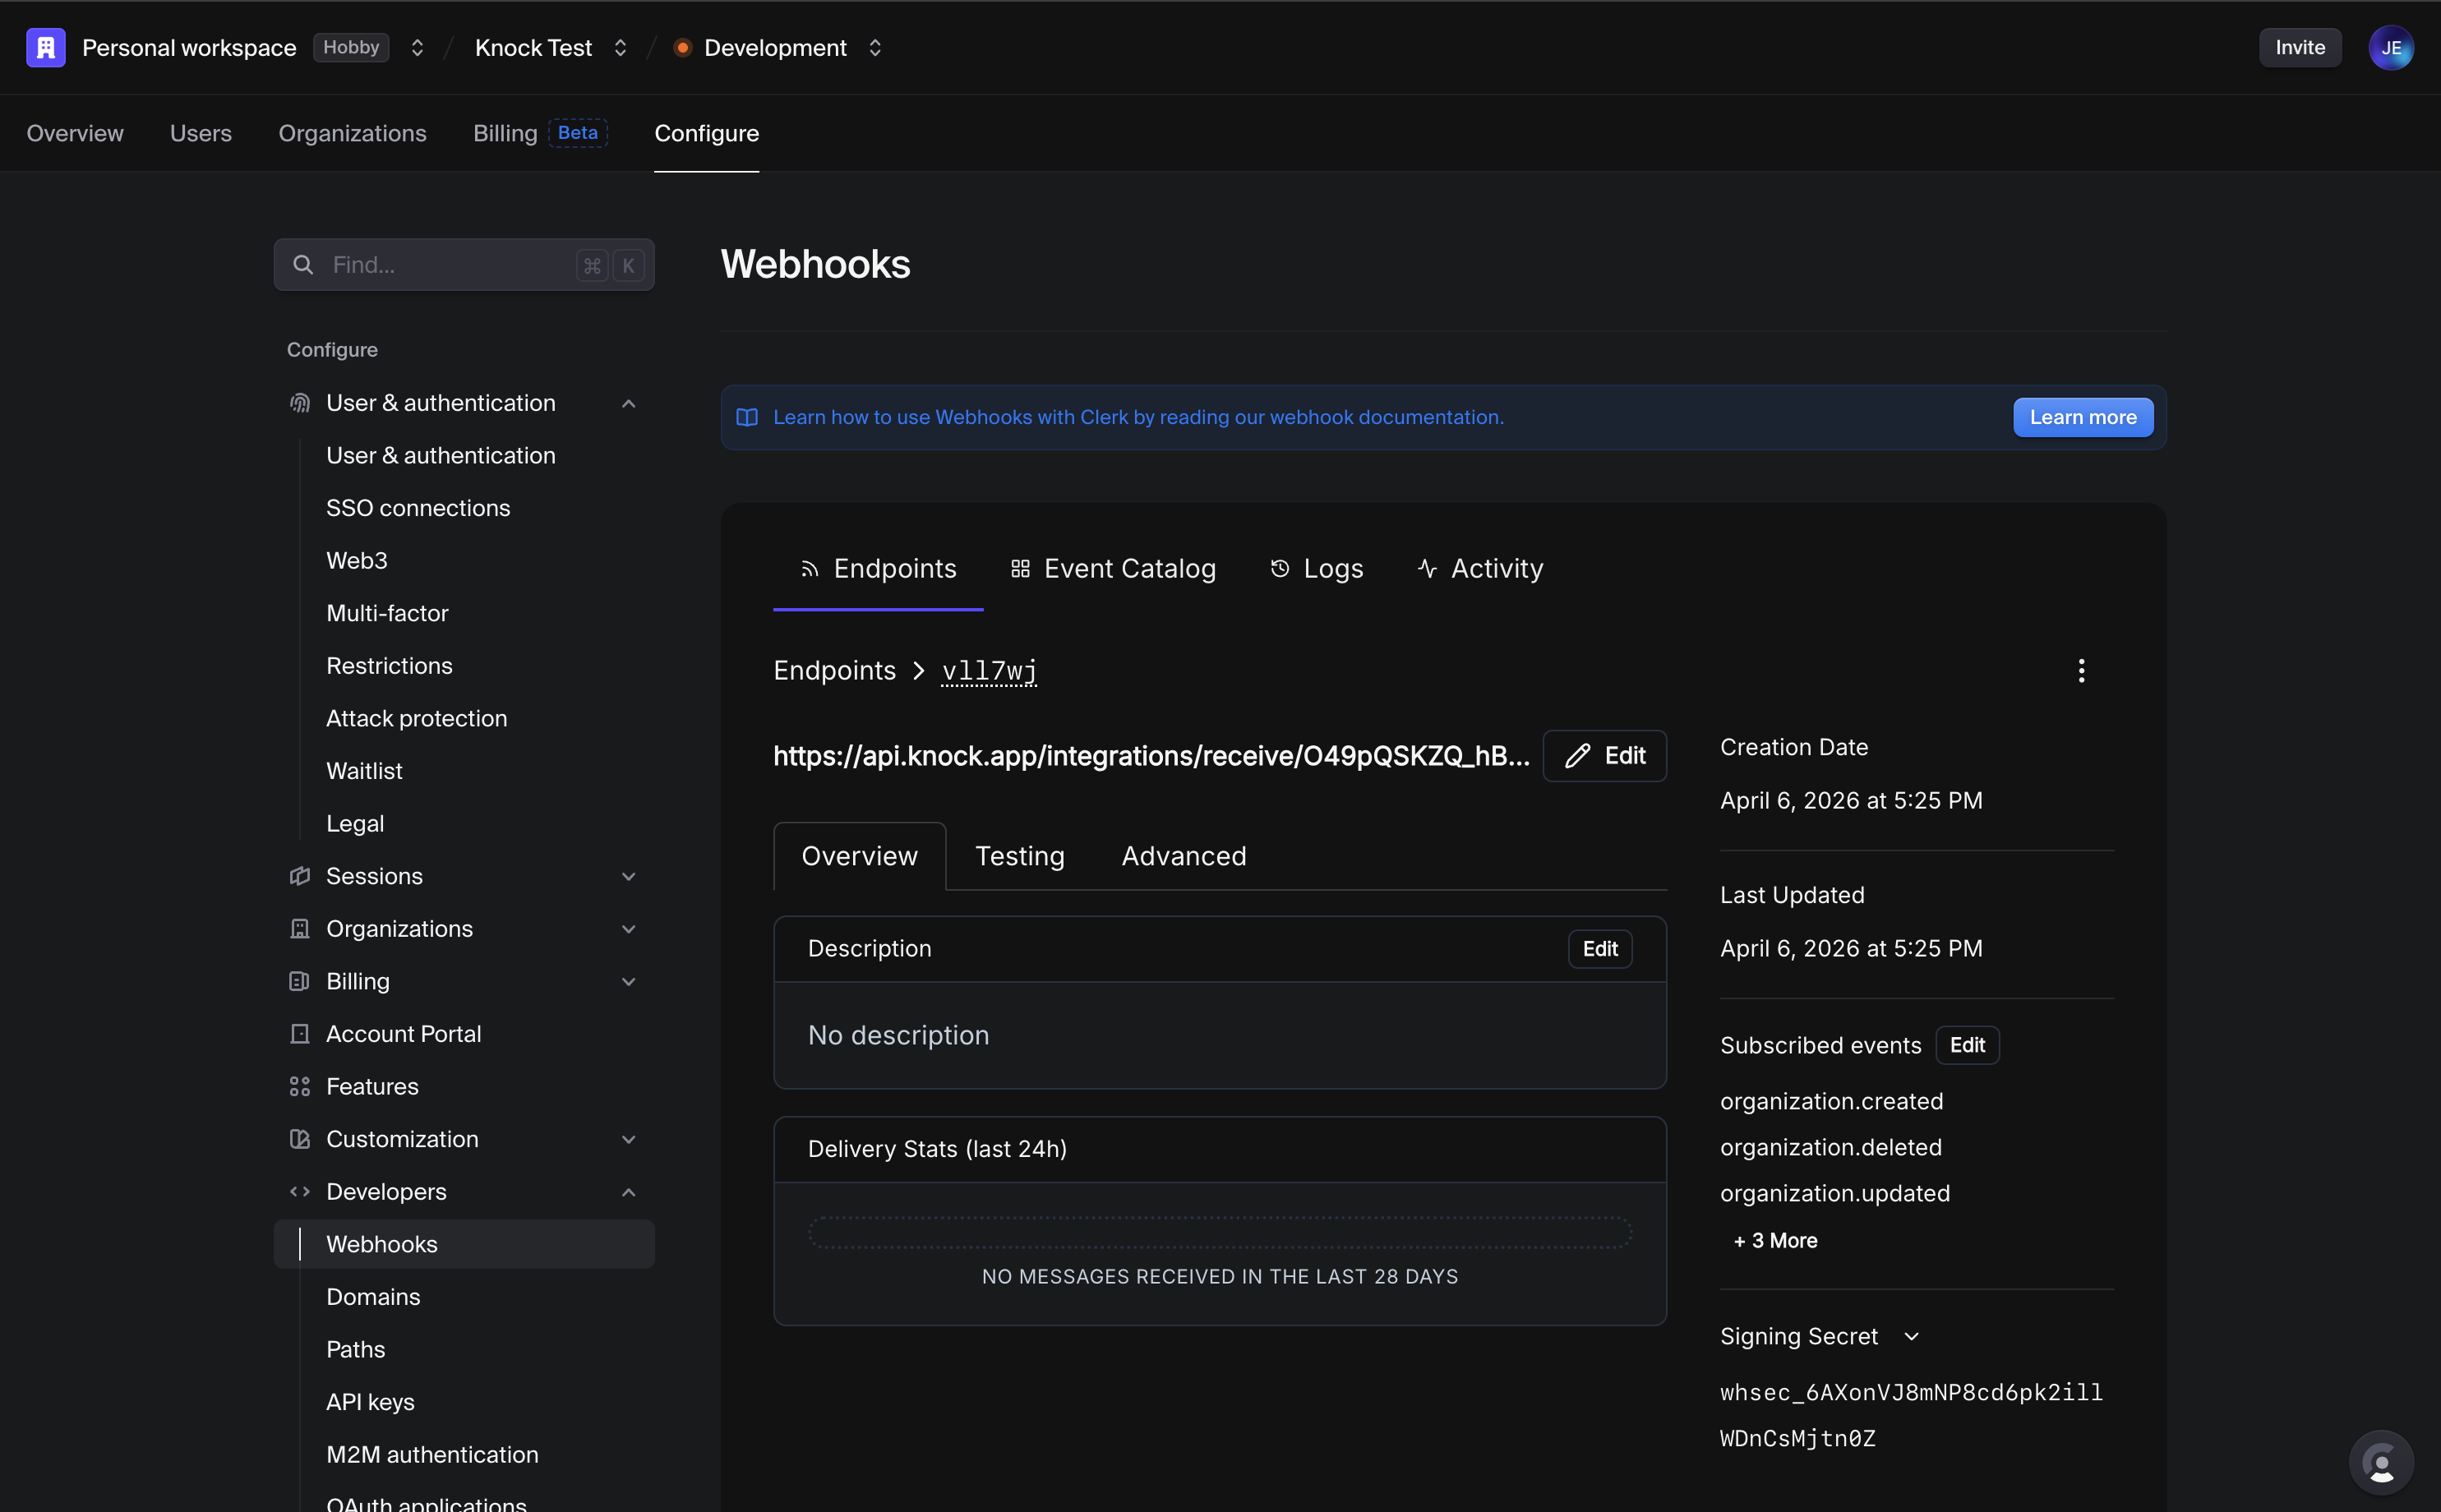
- In Knock, paste the secret into both the Default secret and Development secret fields, then save.
Now go back to the Clerk testing tab and resend the example payload. The new entry in Knock's source logs should report a successful signature check, while the original test event will stay marked as failed verification. That's a useful breadcrumb confirming the secret was added at the right point.
Create a welcome workflow
Now we need a messaging workflow for new sign-ups to trigger. Rather than build it click-by-click in the dashboard, let's prompt the Knock agent to build it.
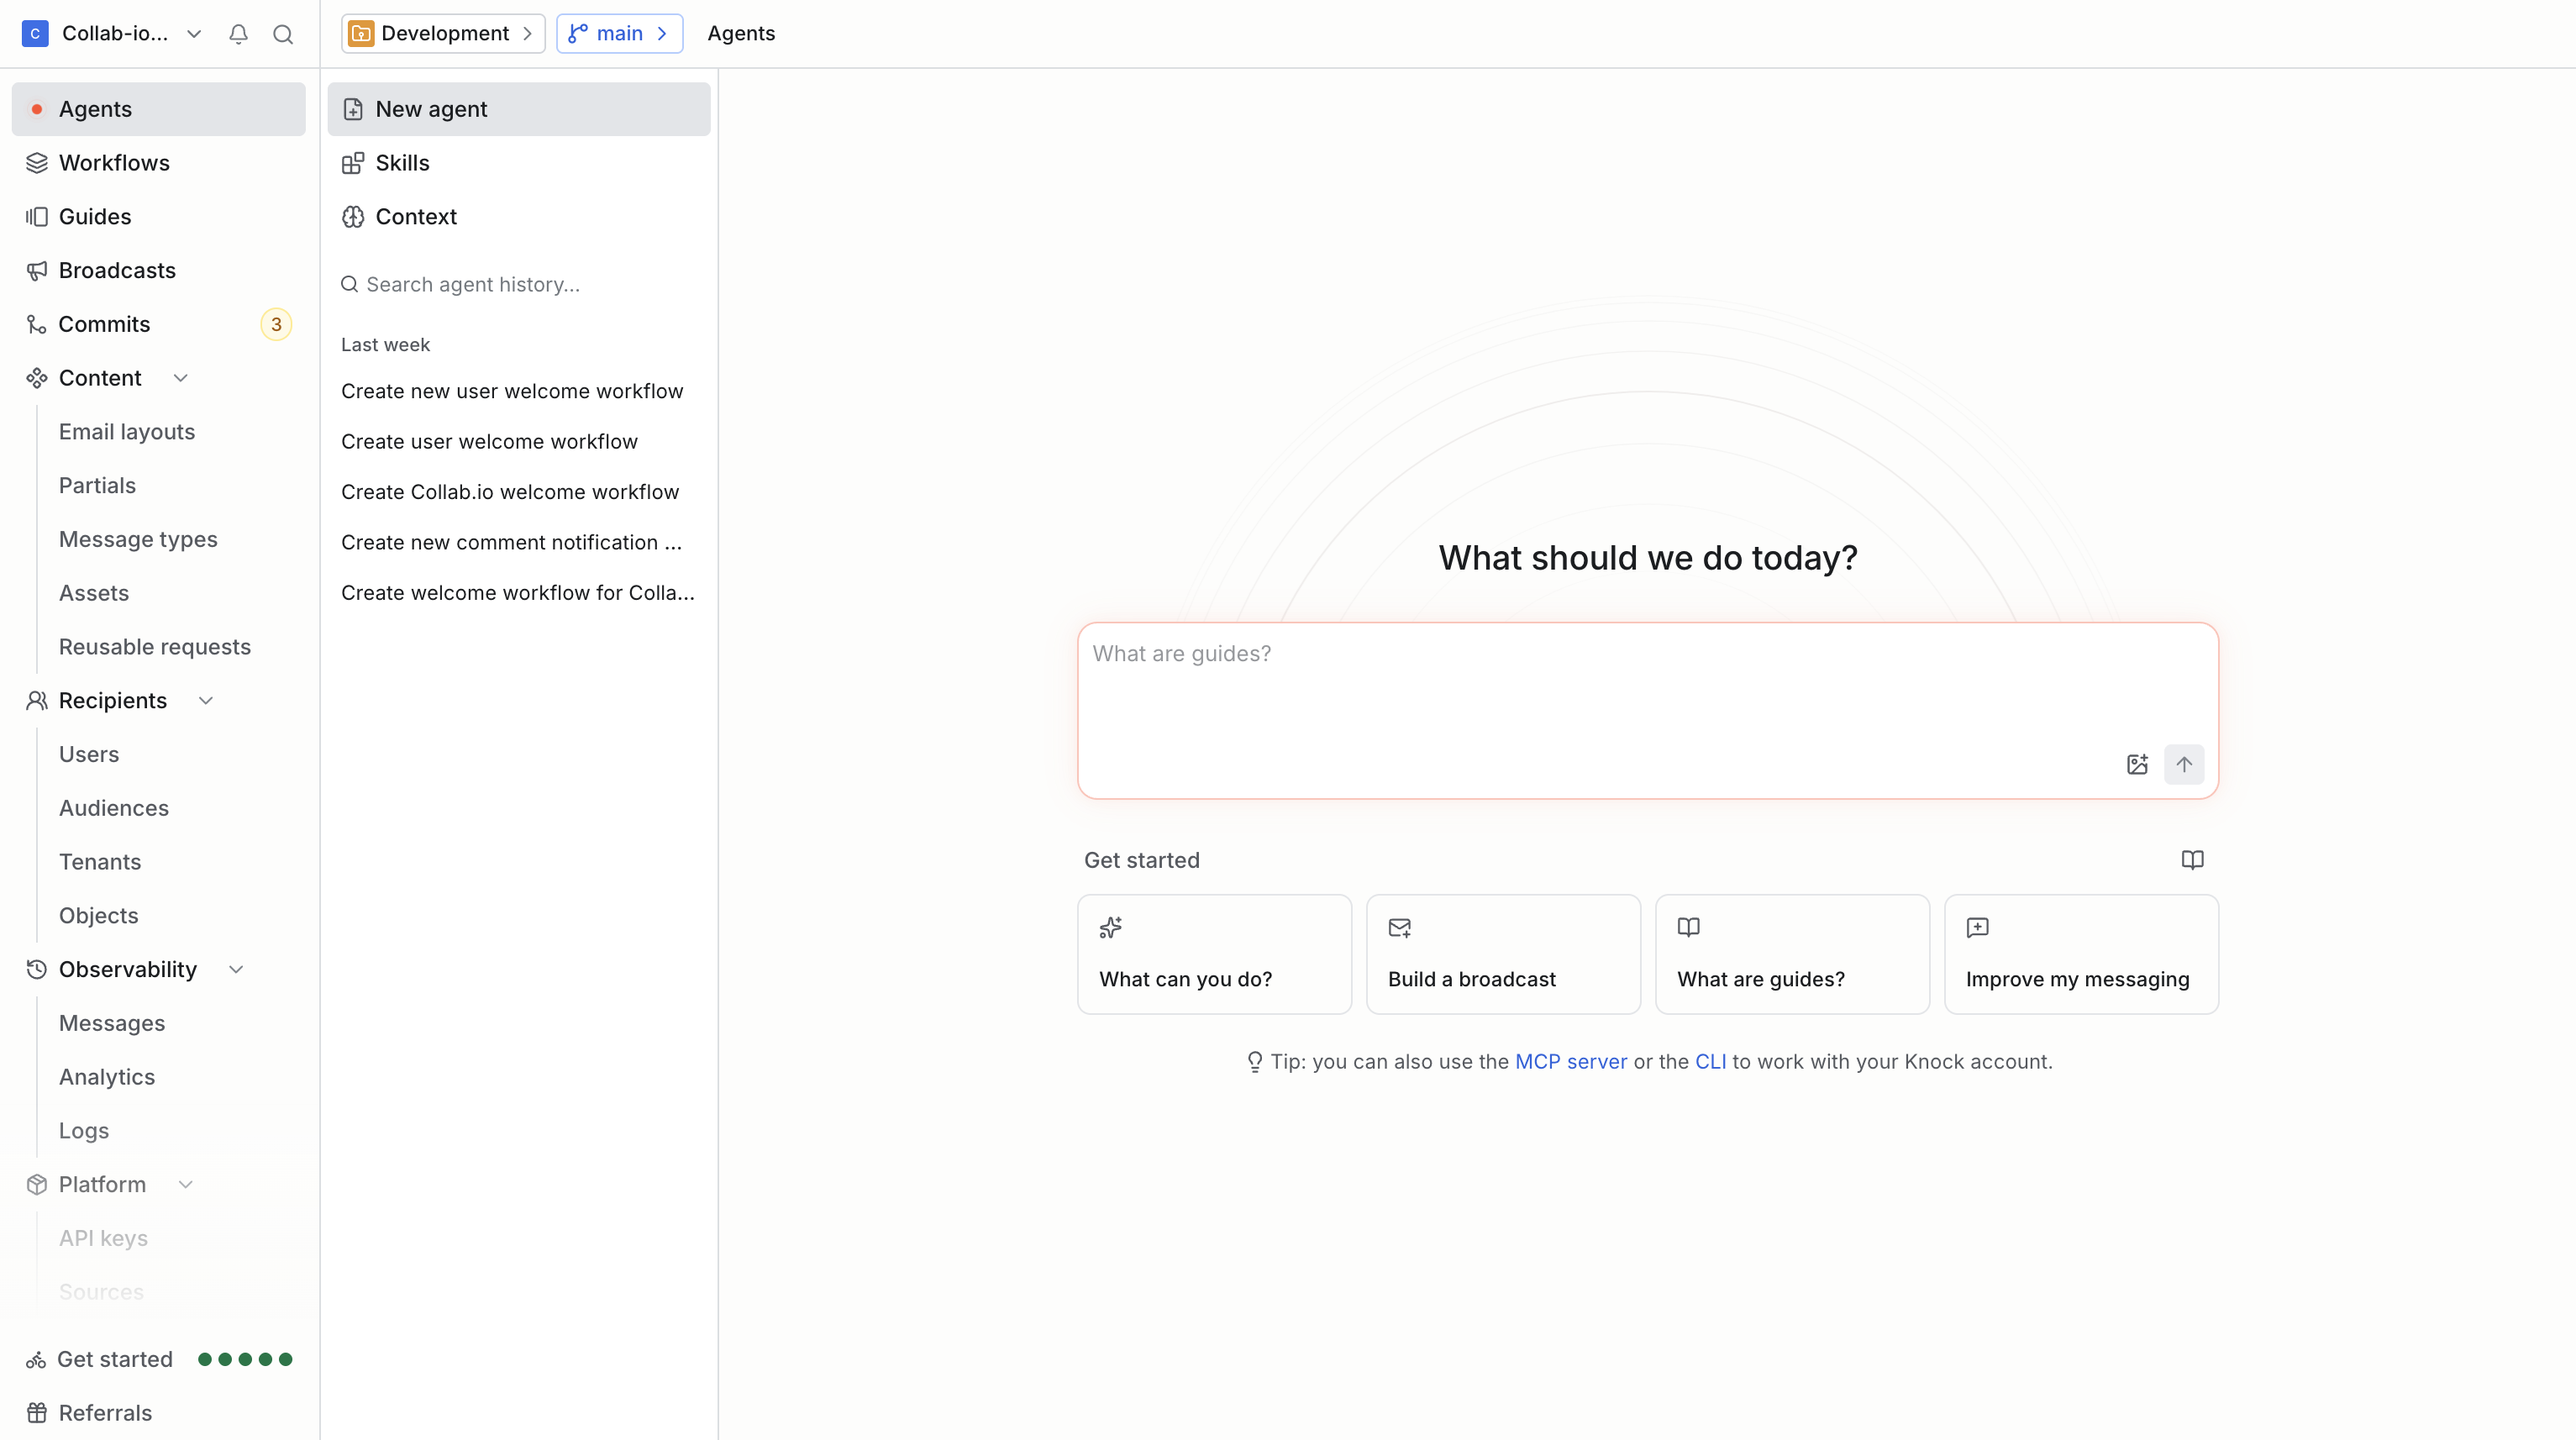
The agent has access to every resource type in Knock, including workflows, broadcasts, email layouts, and partials. You can invoke it from the Agents tab, from inside any resource page, or from the floating toolbar that follows you around the dashboard. Using it for the workflow scaffold saves a few minutes of clicking and gives us reasonable starter copy for the email step.
Prompt the agent
In the Agents tab, paste this prompt:
Create a new user welcome workflow that has an in-app step, followed by a three minute delay, followed by an email step.
Review and commit
When the agent finishes, open the workflow it produced and confirm three things:
- An in-app feed step at position 1.
- A three-minute delay step at position 2.
- An email step at position 3 with a generated subject line and body.
If the templates need a polish pass, edit them directly. When you're happy, commit the workflow to development. The next step will reference this workflow by its key, so it needs to exist in the development environment before we wire it up.
Map user.created events to the welcome workflow
Going back to the Clerk source we created earlier, we'll override the default user.created mapping so it triggers our welcome workflow.
- Open your Clerk source in Knock and find the Event action mappings table.
- Click Add mapping for
user.created. - Set the Action to Trigger workflow and pick the welcome workflow we just generated.
- Set Recipient to
body.data.id. This is the Clerk user ID, which Knock will use as the recipient ID for the workflow run. - Set Payload to
body.data. In production you'll want a tighter projection of properties; for this tutorial we'll pass the whole object so we can see what's available. - Save the mapping.
Knock will prompt you to change the workflow's trigger type from "API call" to "source event" so the workflow can be invoked from a source mapping. Accept the prompt and commit the change to development.
Test the end-to-end flow
The fastest way to verify everything is wired correctly is to create a new user in your Clerk-protected application and watch the events propagate.
When a user signs up:
- Clerk fires the
user.createdwebhook. - Knock verifies the signature and acknowledges the event.
- The Clerk source mapping resolves and Knock identifies the user.
- The mapping triggers the welcome workflow.
- The workflow's first step delivers an in-app notification.
- After the three-minute delay, the email step fires.
To trace each hop, open Source logs in the Clerk source. Each request expands into the chain of operations Knock ran for it: identify user, set tenant (if the user belongs to an organization), trigger workflow. From there you can jump into the workflow run logs to inspect the in-app and email step output.
Add notification preferences in Clerk
Once notifications start flowing, users will want a place to manage them. Knock ships React components for preferences and a few other surfaces, and Clerk's UserProfile component has a slot system for adding custom pages. Together they give us a notification-preferences tab inside Clerk's profile UI without building any settings infrastructure.
Drop a custom page into the UserButton's UserProfile:
import { UserButton, UserProfile } from "@clerk/nextjs";
import { NotificationPreferences } from "@knocklabs/react";
import { BellIcon } from "lucide-react";

export function UserButtonWithPreferences() {
  return (
    <UserButton>
      <UserProfile.Page label="Preferences" labelIcon={<BellIcon />}>
        <div className="p-6">
          <NotificationPreferences />
        </div>
      </UserProfile.Page>
    </UserButton>
  );
}
NotificationPreferences reads and writes the user's preference set in Knock and updates the per-channel toggles in real time. This means if a user disables the in-app feed channel, the welcome workflow's in-app step will be skipped for them on the next run, with no extra plumbing required.
Add per-organization Slack with multi-tenant scoping
In B2B SaaS, Slack belongs to an organization, not an individual. Knock models this by storing Slack channel data on the tenant, and because the Clerk source already maps Clerk organizations to Knock tenants, we get the multi-tenant scoping for free.
Set up the Slack integration
Before the components will work, you need to create the Slack app and tell Knock about it:
- Create a Slack app in Slack's developer portal and configure its OAuth redirect URL.
- Add a Slack channel in Knock and paste in the Slack app's client ID, client secret, and signing secret.
- Make sure the Knock React provider wrapping your app is configured with the current tenant ID (the Clerk organization ID).
Full step-by-step setup lives in the Slack channel docs.
Drop a Slack auth tab into the organization profile
With the Slack channel configured, render Knock's auth components inside Clerk's OrganizationProfile:
import { OrganizationProfile } from "@clerk/nextjs";
import { SlackAuthContainer, SlackAuthButton } from "@knocklabs/react";
import { SlackIcon } from "lucide-react";

export function OrganizationProfileWithSlack() {
  return (
    <OrganizationProfile>
      <OrganizationProfile.Page label="Slack" labelIcon={<SlackIcon />}>
        <SlackAuthContainer>
          <SlackAuthButton>Connect to Slack</SlackAuthButton>
        </SlackAuthContainer>
      </OrganizationProfile.Page>
    </OrganizationProfile>
  );
}
When an org admin clicks Connect to Slack, Knock runs the OAuth flow and stores the resulting access token as channel data on that organization's tenant. From now on, any workflow triggered with tenant: organizationId can deliver to that organization's Slack workspace without you ever holding a token in your own database.
Let users pick a per-resource channel
If you want even finer control, like sending build alerts to #deploys for project A and #general for project B, render the channel combobox alongside the resource the user is configuring:
import { SlackChannelCombobox } from "@knocklabs/react";

export function ProjectSettings({ projectId, tenantId }) {
  return (
    <div>
      <label htmlFor="slack-channel">Notify in Slack channel</label>
      <SlackChannelCombobox
        tenant={tenantId}
        onChannelSelect={(channel) => {
          saveProjectChannelPreference(projectId, channel.id);
        }}
      />
    </div>
  );
}
SlackChannelCombobox queries Slack's channel list using the tenant's stored token and surfaces it inline. Persist the chosen channel ID against your project record, then pass it through to the workflow trigger as a recipient or channel data override.
What we built
In well under 20 minutes, with no custom sync logic, we have:
- Multi-channel messaging. In-app, email, and Slack delivery from a single workflow.
- User preference management. Channel-level toggles rendered inside Clerk's user profile.
- Multi-tenant Slack. Per-organization OAuth, per-resource channel selection, all scoped to Clerk org IDs.
- Zero glue code for sync. Clerk's webhooks land in Knock and drive everything else.
Where to go next
Knock's data sources cover Clerk and other popular platforms like Supabase and PostHog, plus a generic HTTP source for anything that can send a webhook.
From here, the most common follow-ups are:
- Tighten the payload. Replace
body.datain the source mapping with a projection that only includes the fields your templates actually use. - Add more triggers. Map
organization.createdto an "organization onboarding" workflow, orsession.createdto a security-event workflow. - Layer on guides. Use Knock Guides for the in-product nudges (paywalls, banners, tooltips) that don't fit neatly into a notification channel.
If you want the full Clerk integration reference, the Clerk source docs cover every event mapping and configuration option. Or sign up for Knock and try it on your own Clerk app.