In this post, we'll explore how to add an in-app notification feed to your Next.js application using Knock's drop-in feed components.
Building an in-app notification system from scratch can be complex and time-consuming. You need to handle real-time updates, manage read/unread states, implement pagination, and create an intuitive UI. Knock's drop-in components handle all of this complexity for you while still giving you the flexibility to customize the experience for your users.
What we'll build
By the end of this tutorial, you'll have a fully functional in-app notification feed that:
- Shows real-time notifications to your users
- Supports marking items as read/unread
- Handles pagination for large notification lists
- Updates badge counts automatically
Prerequisites
Before we begin, you should have:
- A basic understanding of Next.js and React
- Node.js installed on your machine
- A Knock account (you can sign up for free)
- An existing Next.js project (or you can create a new one)
Let's dive in and see how we can add this powerful feature to your application.
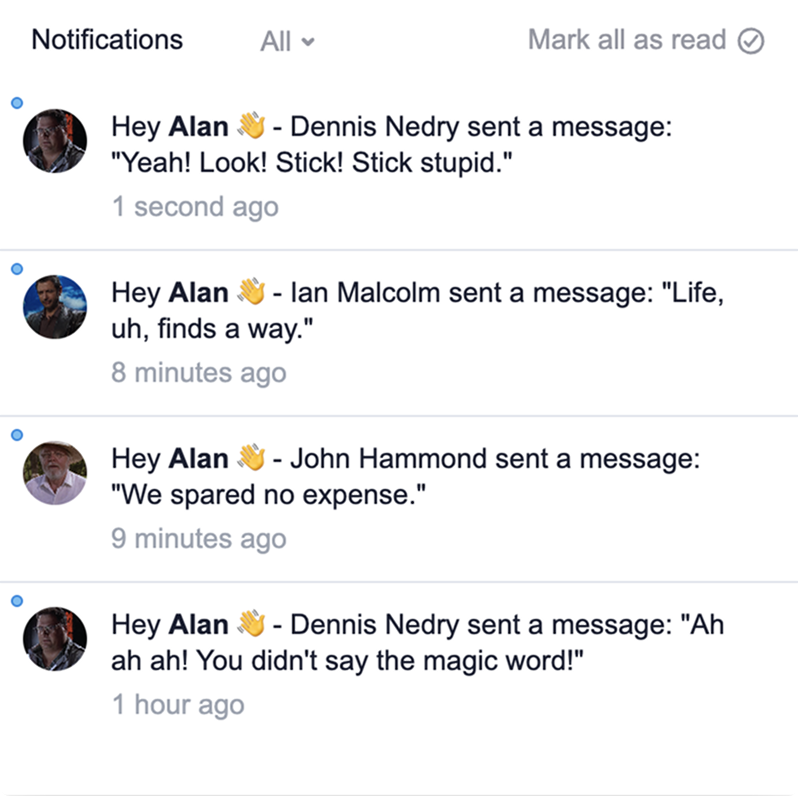
Example app
I've embedded an example app below, so select your favorite Jurassic Park characters and send some classic movie quotes.
Set up your Next.js project
If you have your own Next.js project, you can follow along there, or you can clone the example app we embedded above using the following command:
git clone https://github.com/JEverhart383/tldr-knock-demoNext, let's add the necessary environment variables. Create a .env.local file in your project root and add the following variables:
# Your Knock API key (from Knock dashboard)
KNOCK_API_KEY=

# Your Knock public API key (from Knock dashboard)
NEXT_PUBLIC_KNOCK_PUBLIC_KEY=

# Your Knock feed channel ID (from Knock dashboard)
NEXT_PUBLIC_KNOCK_FEED_CHANNEL_ID=
You can find all these values in your Knock dashboard.
You'll need two API keys. The KNOCK_API_KEY is your secret key used for server-side operations, while the NEXT_PUBLIC_KNOCK_PUBLIC_KEY is your public key that's safe to use in the browser.
You'll also need the ID of an in-app feed channel for NEXT_PUBLIC_KNOCK_FEED_CHANNEL_ID. You can find this in the Integrations tab of the dashboard.
Install dependencies
Let's add the required Knock packages to your project if you're using your own project. If you cloned the example app repo, these should already be installed:
npm install @knocklabs/react @knocklabs/node
# or
yarn add @knocklabs/react @knocklabs/node
You should also run npm install or yarn install to install the other ShadCN UI components.
Set up the Knock provider
The first step in implementing our notification system is wrapping our application with the Knock providers. These providers ensure that our notification components have access to the necessary Knock context.
In your main layout or page component (we'll use app/page.tsx as an example), add the following:
import { KnockProvider, KnockFeedProvider } from "@knocklabs/react";

export default function Layout({ children }) {
  return (
    <KnockProvider
      apiKey={process.env.NEXT_PUBLIC_KNOCK_PUBLIC_KEY}
      userId={currentUser.id} // Replace with your user ID logic
    >
      <KnockFeedProvider feedId={process.env.NEXT_PUBLIC_KNOCK_FEED_CHANNEL_ID}>
        {children}
      </KnockFeedProvider>
    </KnockProvider>
  );
}
The KnockProvider sets up the base Knock configuration, while the KnockFeedProvider specifically handles the in-app feed functionality. Notice how we're using our environment variables here to configure the providers. In a production deployment, you'd also want to enable enhanced security mode, which requires an additional signed token on all API calls, but for a demo we're fine to proceed without this step.
Add the notification components
Next let's add the actual notification components to your UI. Knock provides two main components we'll use for this example app:
NotificationIconButton: A button that displays an unread notification countNotificationFeedPopover: A popover component that shows the notification feed
Here's how to implement them:
import { useState, useRef } from "react";
import {
  NotificationIconButton,
  NotificationFeedPopover,
} from "@knocklabs/react";

export default function NotificationMenu() {
  const [isVisible, setIsVisible] = useState(false);
  const notifButtonRef = useRef(null);

  return (
    <div className="flex items-center gap-2">
      <NotificationIconButton
        ref={notifButtonRef}
        onClick={() => setIsVisible(!isVisible)}
      />

      <NotificationFeedPopover
        buttonRef={notifButtonRef}
        isVisible={isVisible}
        onClose={() => setIsVisible(false)}
      />
    </div>
  );
}
This code creates a notification button that, when clicked, opens a popover containing the feed. The buttonRef and isVisible state work together to control the popover's visibility and positioning. Knock also provides non-popover component called NotificationFeed and React hooks if you want to build your own custom UI.
Handle message state
In addition to Knock handling all of the real-time infrastructure to display these feed messages, it also handles all of the message state as users interact with the items in their feed. The default NotificationCell components provide indicators for unread status and handle marking items as read or archived as users interact with them.
All of this message interaction data is then sent back to Knock where it's normalized with the rest of your message engagement data if you're sending cross-channel notifications through email or Slack.
Send notifications
To make our notification system truly interactive, we need to be able to send notifications. In Next.js, we can do this using server actions. Here's how to set it up:
// app/actions.ts
import { Knock } from "@knocklabs/node";

const knockClient = new Knock({
  apiKey: process.env.KNOCK_API_KEY,
});

export async function sendNotification(
  recipient: string,
  actor: string,
  message: string,
) {
  try {
    const response = await knockClient.workflows.trigger("in-app", {
      recipients: [recipient],
      actor: actor,
      data: {
        message: message,
      },
    });

    return { success: true };
  } catch (error) {
    console.error("Error sending notification:", error);
    return { success: false, error };
  }
}
This server action uses the Knock Node.js SDK to trigger our notification workflow. The workflow named "in-app" should be configured in your Knock dashboard to use the in-app feed channel.
When triggering a workflow, we always need to specify a recipient, but we can also pass through an actor and additional payload data that we can use in our message template to construct the feed item that a user will see.
In this example app, we're including a full user object as our recipient and actor which uses a process called inline identification:
{
  "id": "user-7h4k",
  "name": "Alan Grant",
  "avatar": "/alan-grant.webp"
}
To send users notifications, Knock needs to know certain information about them, and using inline identification by passing a user object with an id property means Knock can create the user if they don't already exist. But inline identification is also a great practice because it helps keep your user data in sync with Knock, so if you use user attributes as a part of workflows, you know it's current.
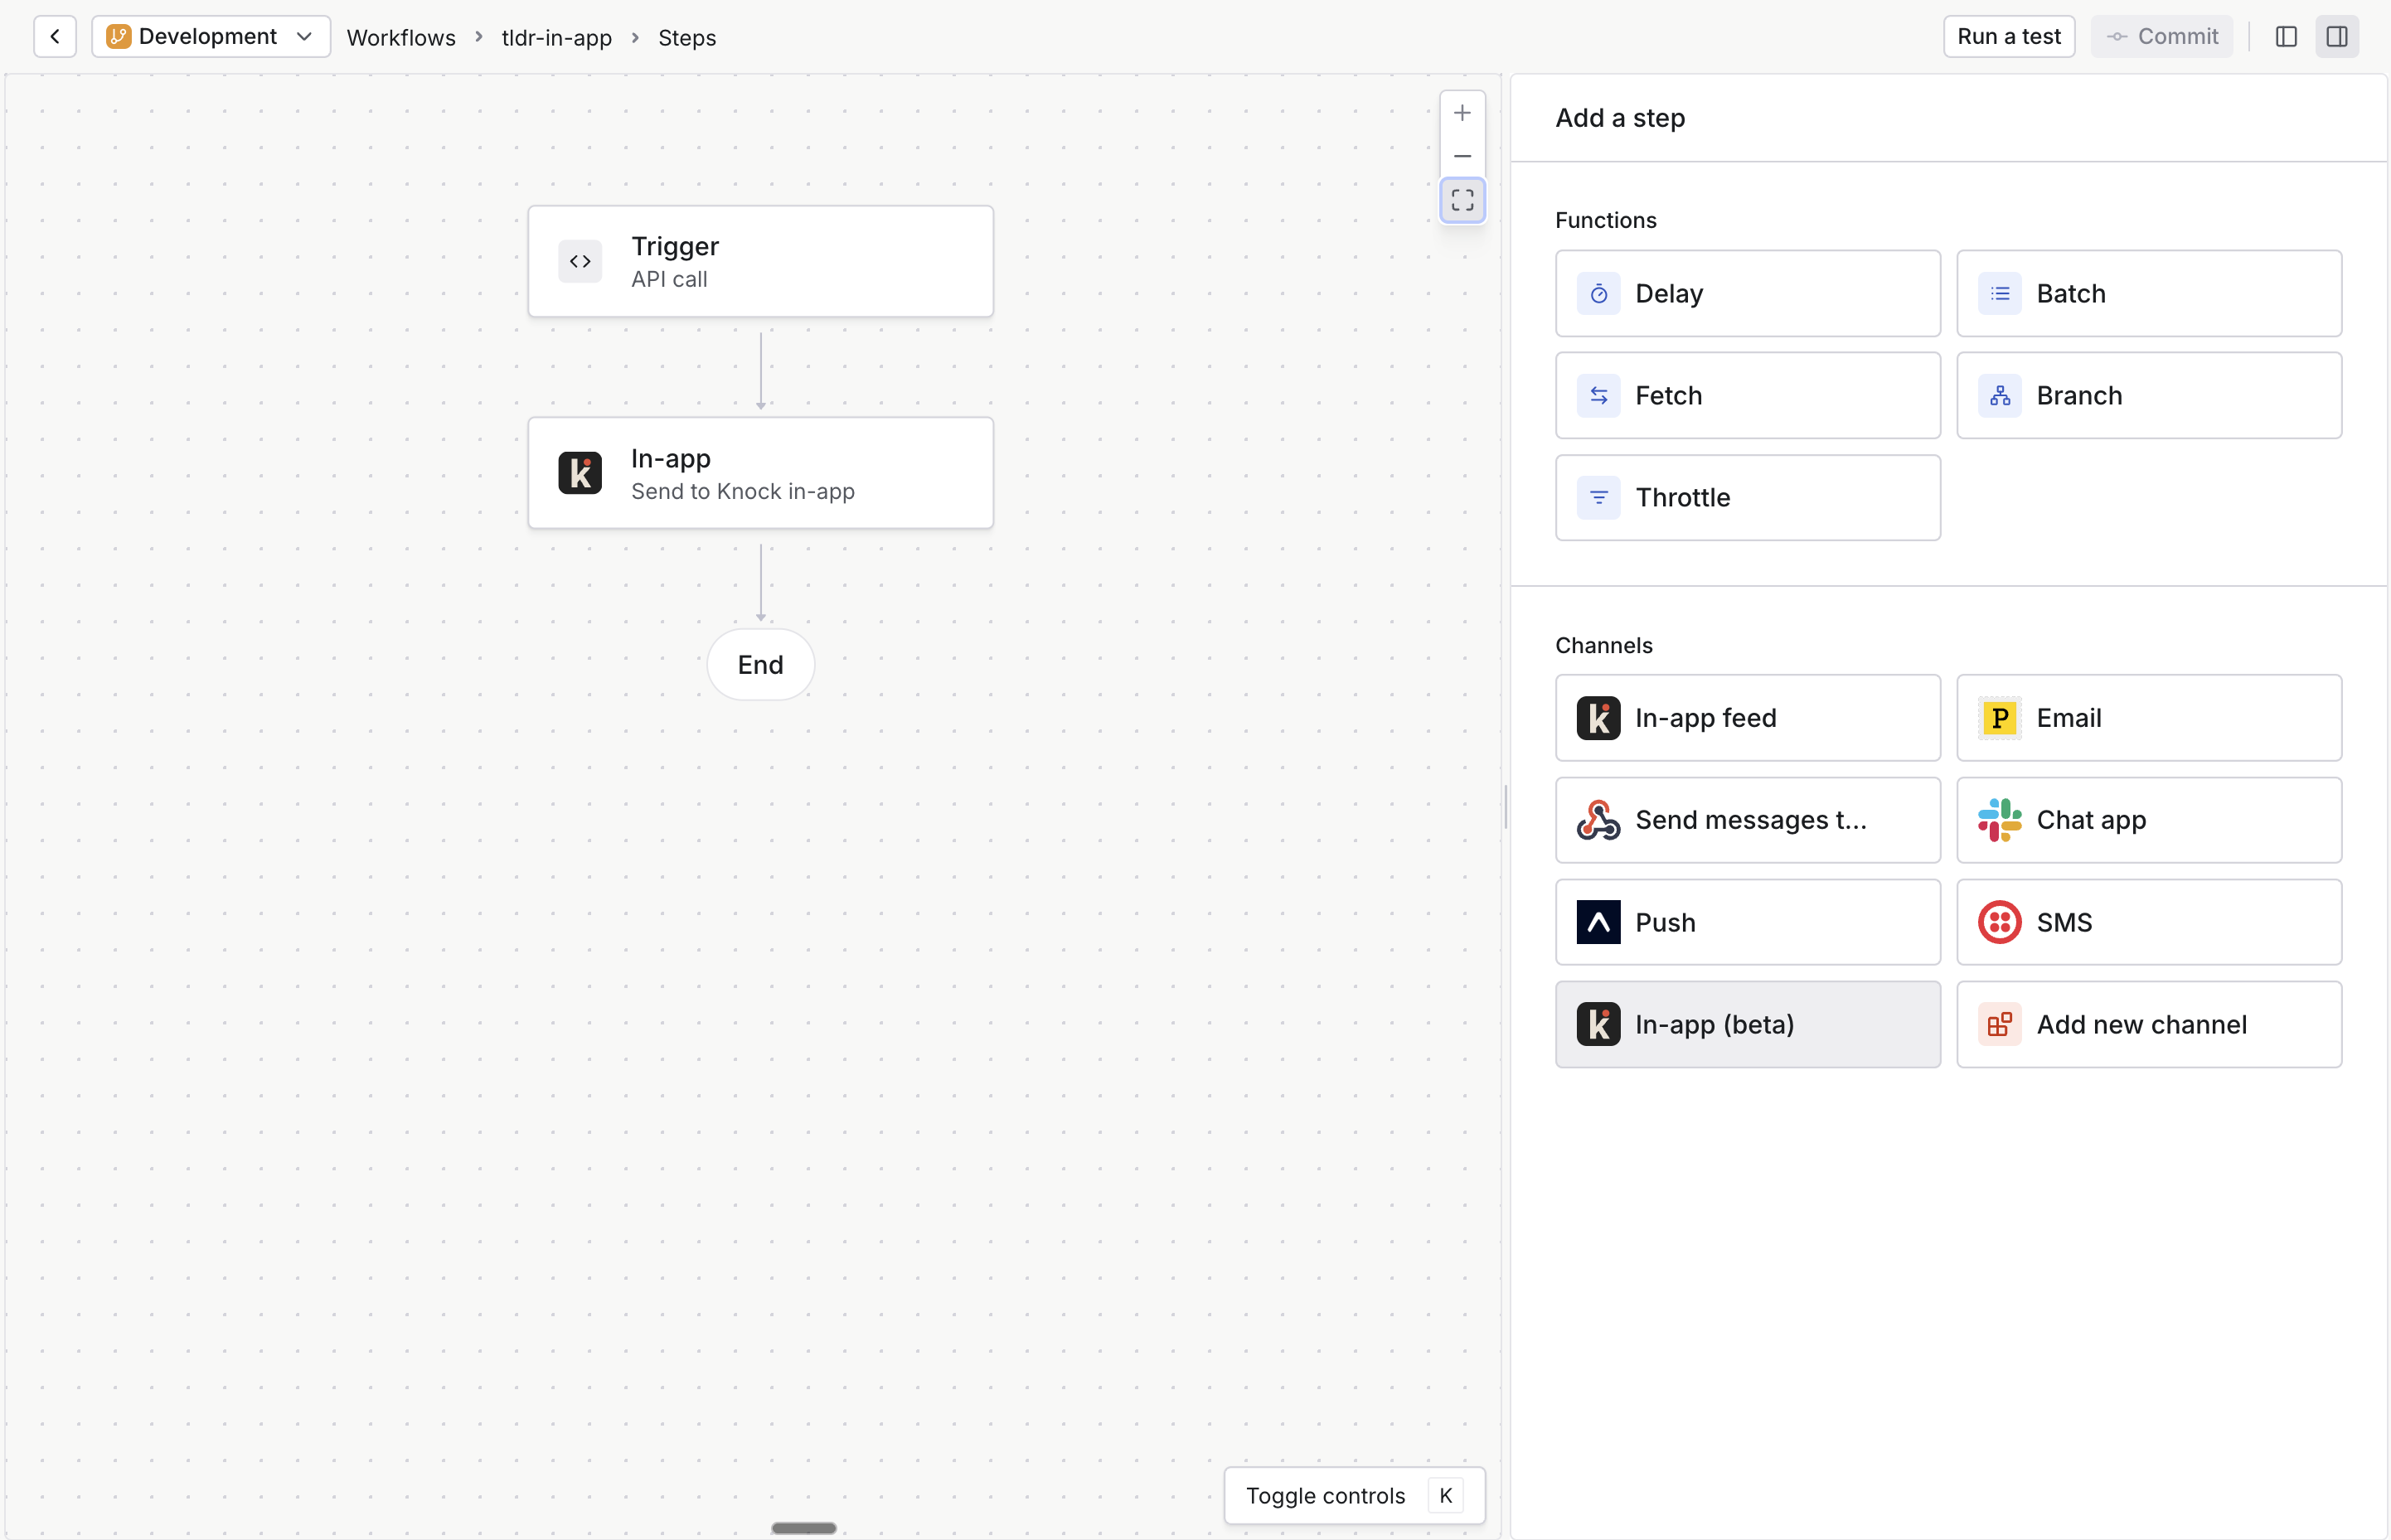
Configure the workflow
The final piece of the puzzle is setting up your workflow in the Knock dashboard. You'll want to:
- Create a new workflow (we named ours "tldr-in-app")
- Add an in-app feed channel step
- Configure your notification template
- Set any conditions or delays you want
Your notification template might look something like this:
Hey 👋 - {{ actor.name }} sent a message: "{{message}}"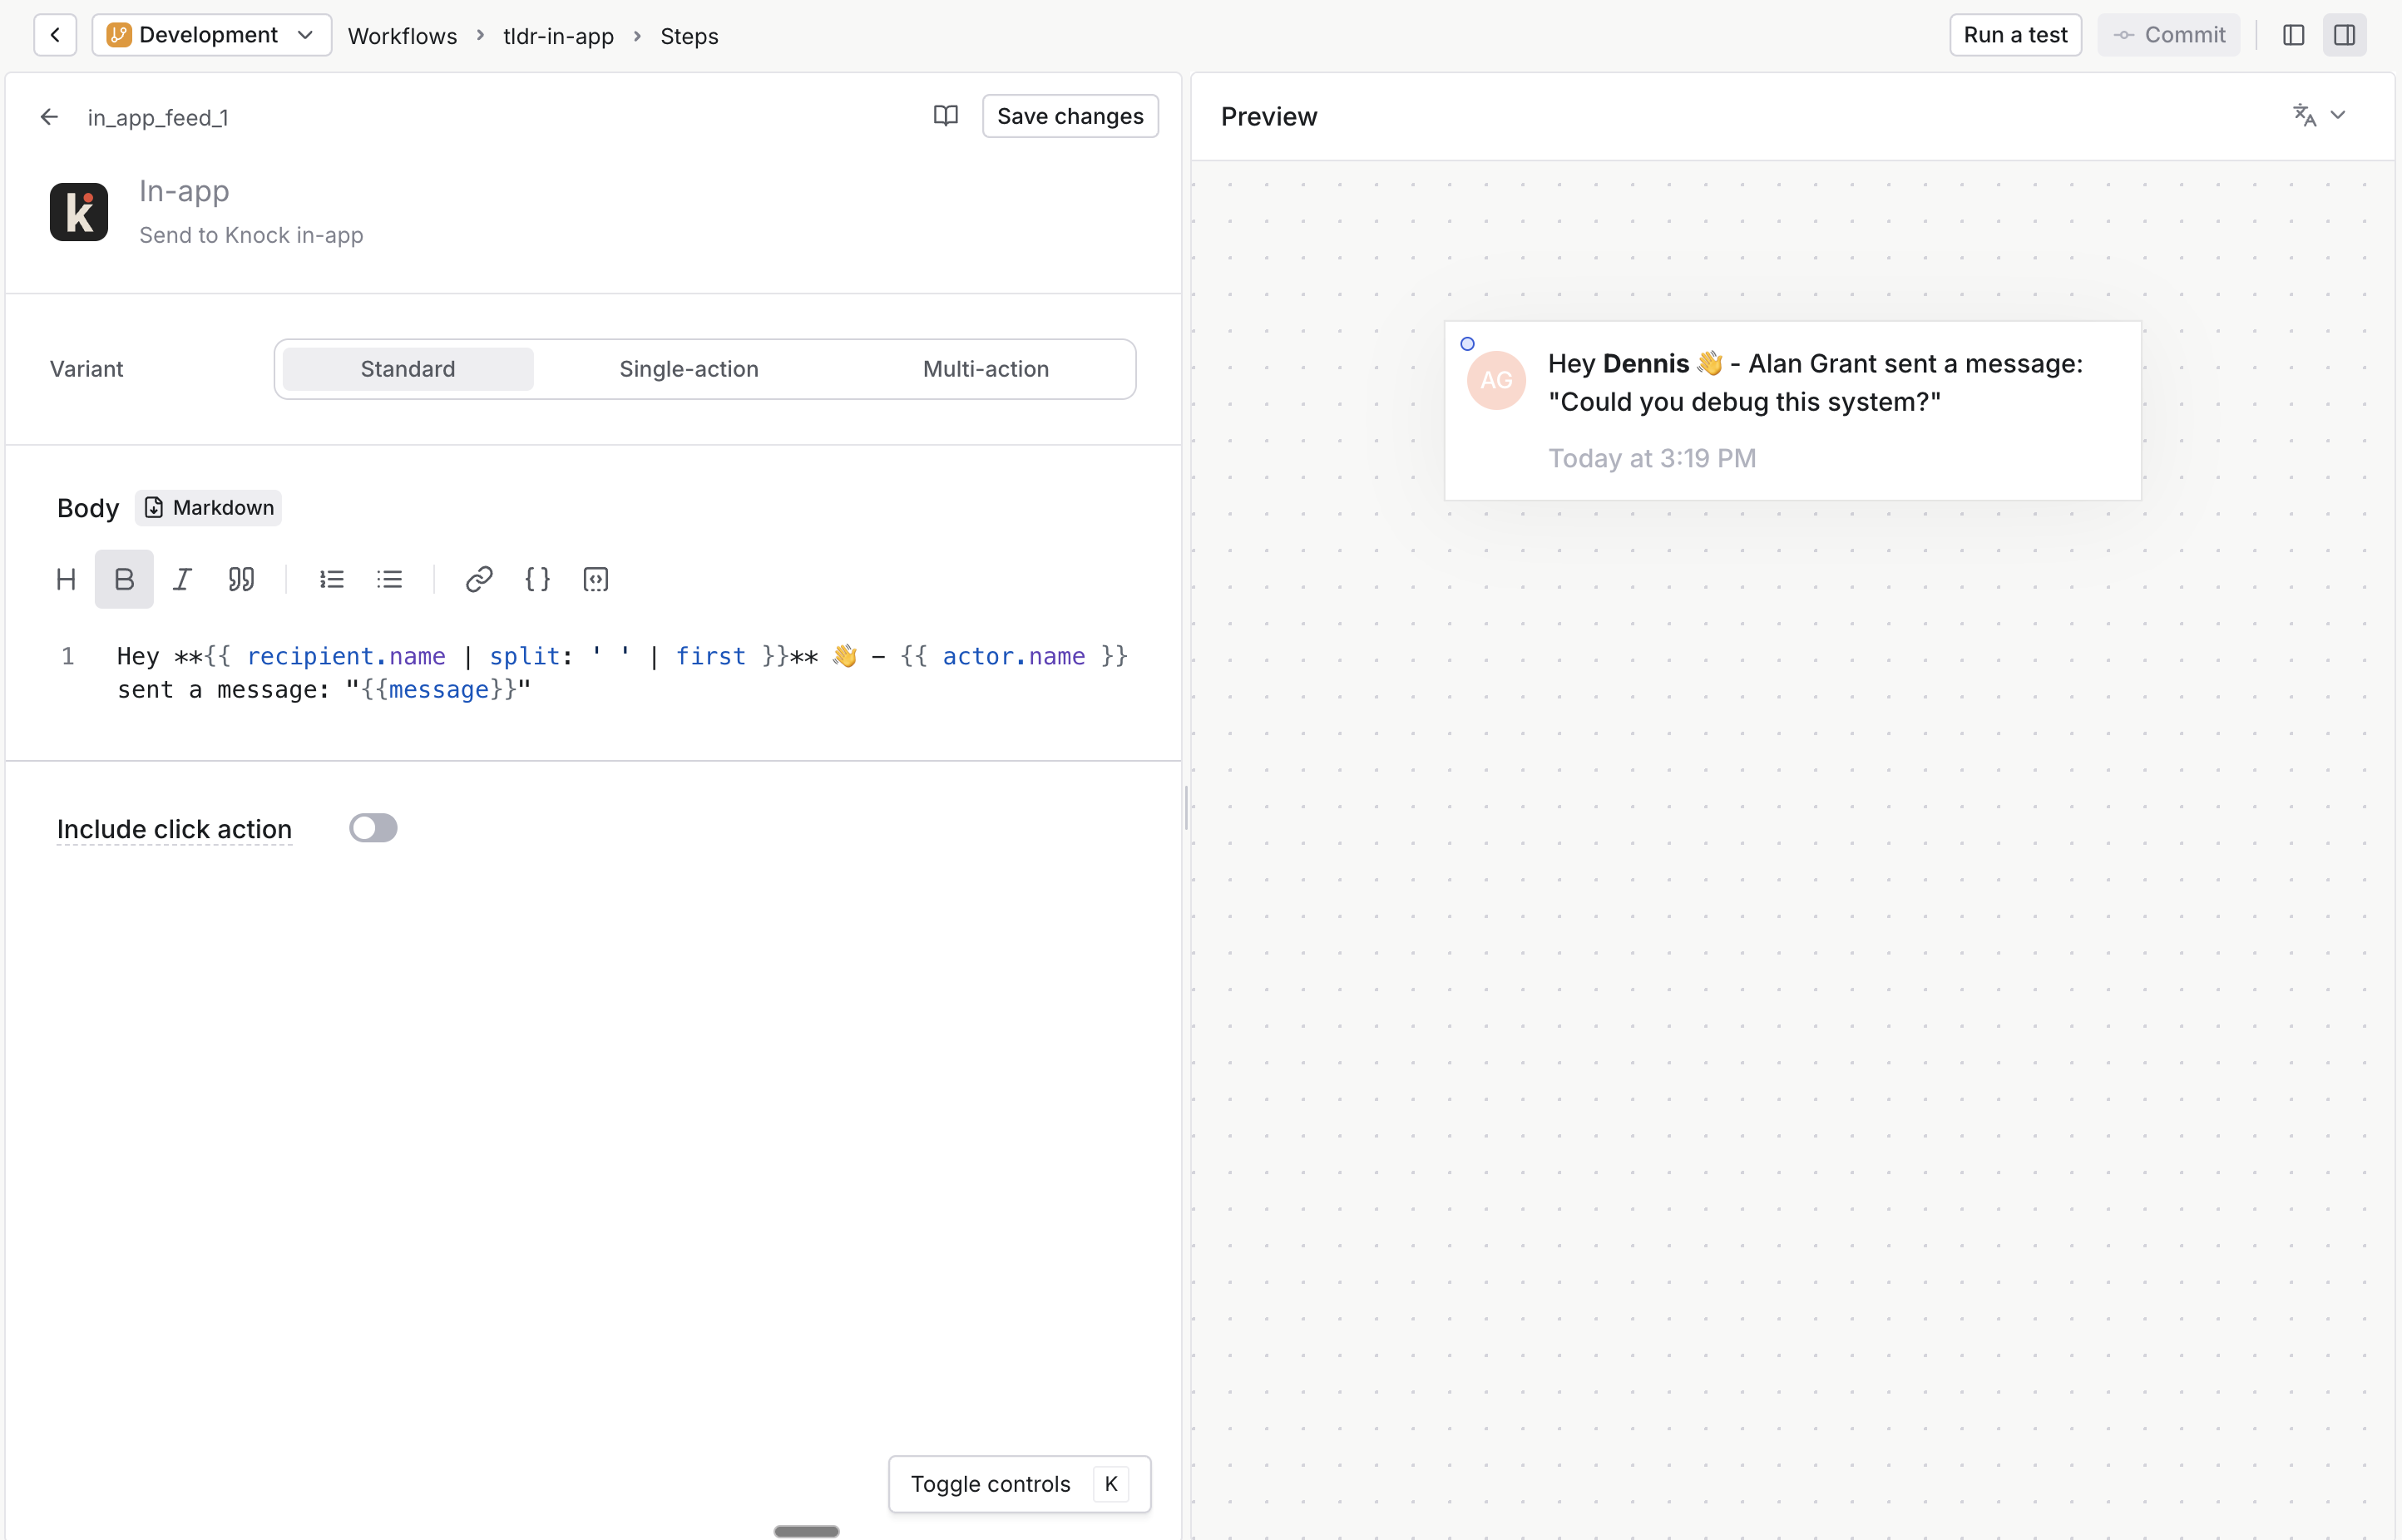
Test it out
With everything set up, you should now have a fully functional in-app notification system. Users will see:
- A notification badge showing their unread count
- Real-time updates when new notifications arrive
- A clean, professional feed interface when they click the notification icon
- Read/unread state management
- Automatic pagination for older notifications
If you're having trouble sending end-to-end messages, you can reference these docs on debugging workflows.
Ship in-app feed notifications with Knock
Adding an in-app notification feed to your Next.js application doesn't have to be complicated. With Knock's drop-in components, you can implement a robust notification system in just a few steps. The components handle all the complex parts like real-time updates and state management, letting you focus on building your application's core features.
Remember to check out the Knock documentation for more detailed information about customizing your notification system, and don't hesitate to reach out to the Knock team if you need any help!