In this blog post, we'll explore how to power real-time toast notifications in Next.js using Knock's feed API. Toasts aren't a new concept for most developers, but with Knock's API we can display toasts when actions are triggered by other users or external events. We'll cover installing toasts from shadcn/ui, connecting them to Knock's real-time feed events, and showing how you can conditionally display toasts in the UI based on your message payload.
This tutorial builds on a previous guide where we implemented a Notion-style feed, so be sure to check that out.
Video walkthrough
If you prefer to learn with video, watch it here.
Setting up the project
We'll start off by picking up where we left off in the previous tutorial. If you haven't read that post, check out the link above in the post intro.
The first thing we need to do to implement real-time toasts is install the toast component from shadcn/ui. Open up your browser and navigate to the toast component page in the shadcn/ui docs.
Then, copy the NPM command to add the component to your components/ui folder and run the command in your terminal.
npx shadcn-ui@latest add toastYou should see that it's installed three separate files: toast.tsx, toaster.tsx, and use-toast.tsx.
Importing the Toaster component
Next, we need to import the Toaster component into our ActivityFeed component file. We'll do that right under where we're importing the rest of our components:
import { Toaster } from "@/components/ui/toaster";Then, scroll down to the bottom of the file, since everything is in one file for this project, and implement the Toaster component at the bottom of our Tabs component:
<Toaster />Depending on what you're building, you may want to implement this at a higher level in your component tree, like a layout.tsx file.
Importing the useToast hook
We also need to import the useToast hook. The useToast hook allows us to trigger our toast notifications from other components. We can just copy the import statement from the docs:
import { useToast } from "@/components/ui/use-toast";And paste it below where you're importing the rest of your React hooks.
Extracting the toast function
Inside our component, we need to extract the toast function from our useToast hook:
const { toast } = useToast();This will allow us to call the toast function and pass in an object to trigger our toasts, as shown in the implementation guide.
Adding an Event Handler
Now that we have our toasts installed and the useToast hook in place, let's add an additional event handler onto the Knock feed that will respond to real-time events.
knockFeed.on("items.received.realtime", (response) => {
  const { items } = response;
  console.log(items);
  toast({ title: "New toast message", description: "You have a new message." });
});
Here, we're listening for the items.received.realtime event. The callback function will receive a response object, from which we destructure the items property. These are the new items being passed to the feed through WebSockets as we add items to the feed in the backend.
For now, we'll just console.log the items so we can take a look at them, and call the toast function with some generic data to make sure it's working.
Testing the Toast
Let's save our changes, start up the development server using npm run dev, and refresh the app in the browser to load the newest client-side code.
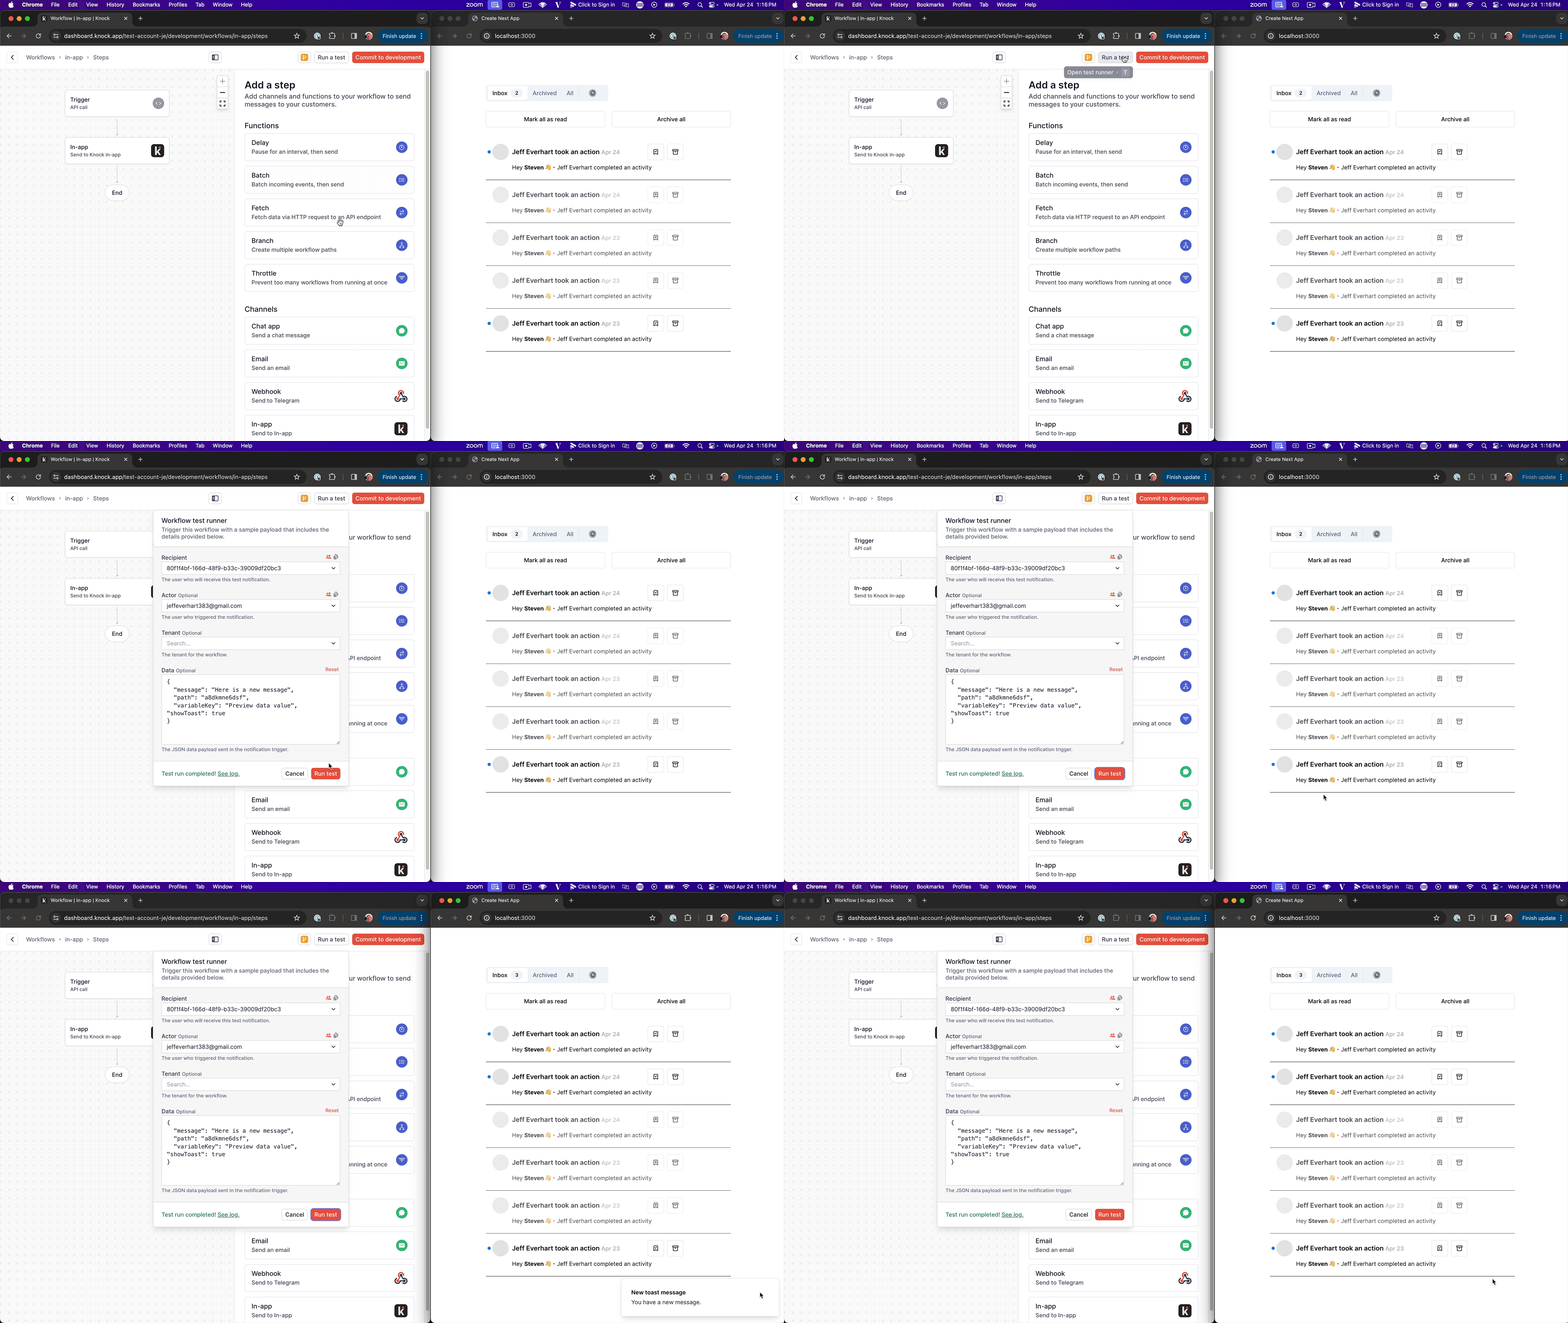
Then, head over to the Knock dashboard and run a test to send a message inside your in-app workflow.

In your app, you should see your toast displaying exactly as intended. And if you open up the console, you'll see the items array being logged out.
It's important to note that items is an array, because it's possible for multiple items to get batched together. We could potentially receive multiple items at once.
Handling multiple items
Let's modify our code to handle the case where we receive multiple items. Since items is an array, we'll use .forEach() to loop through it:
items.forEach((item) => {
  toast({ title: "New item in feed", description: item.data.message });
});
Now, instead of displaying just one toast, we're displaying one for each real-time item we receive. We're also using the message property from the data object on each item as the description for our toast.
Syncing the feed
Another thing we want to do inside our event listener is ensure that we're syncing our feed appropriately, so that when we get real-time events, the feed updates as well.
setFeed(knockFeed.getState());We'll use the setFeed function and to reconcile our local feed state with the new state of the knockFeed object. The knockFeed does a great job of reconciling its own internal state each time we recieve new items or update statues on exisitng items, so we can just lean into that.
Customizing the toast message
There's a ton of data available on each item object that we can use to customize our toast messages. For example, let's use the inserted_at timestamp to display a friendly date:
toast({
  title: "New item in feed",
  description: `New item in feed at ${new Date(
    item.inserted_at,
  ).toLocaleString()}`,
});
Here, we're creating a new Date object from the inserted_at property, and using .toLocaleString() to format it nicely.
Conditional toasts
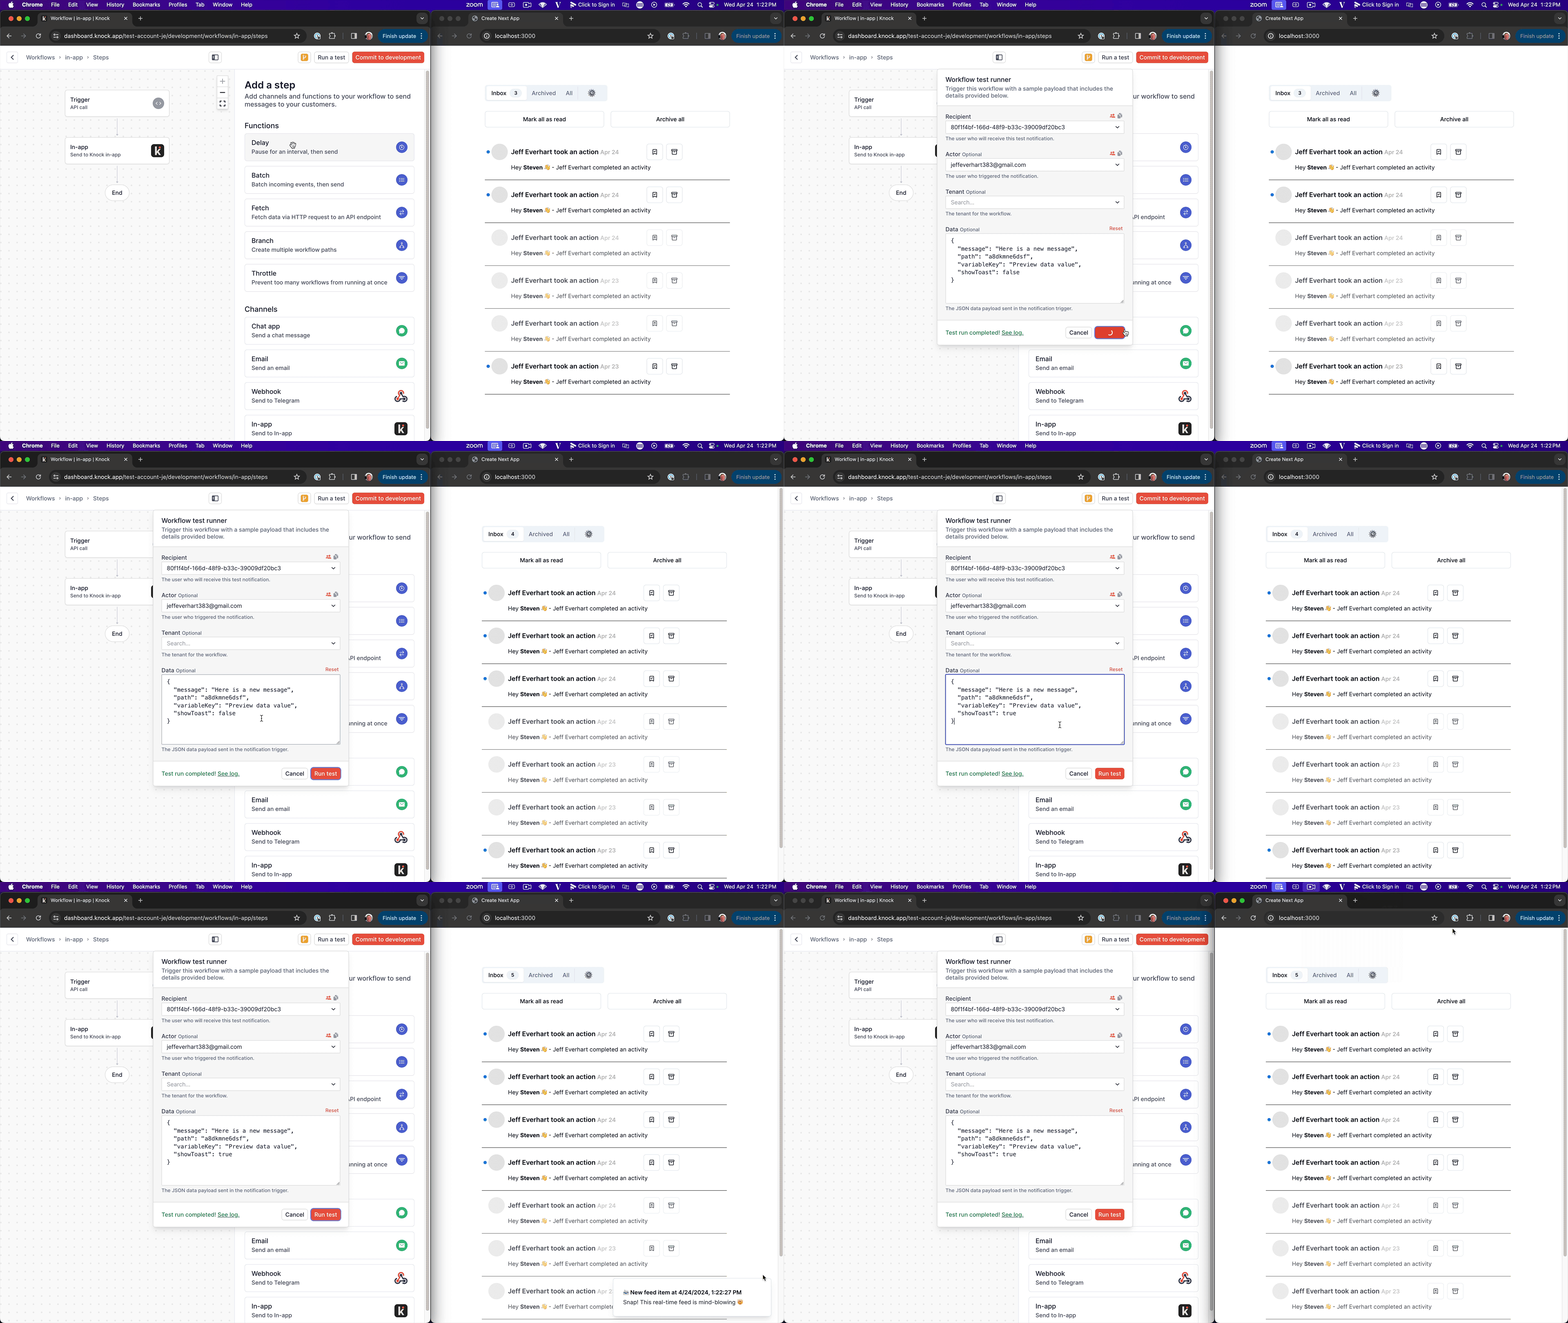
What if we want to conditionally display toasts based on certain criteria? We can do this by adding a showToast property to our message payload in Knock, and setting it to false by default.
Then, in our code, we can add an if statement to only call the toast function if item.data.showToast is true:
if (item.data.showToast) {
  toast({
    title: `📨 New feed item at ${new Date(item.inserted_at).toLocaleString()}`,
    description: "Snap! This real-time feed is mind-blowing 🤯",
  });
}
Now, if we trigger a test event with showToast set to false, we'll see the feed update but no toast will be displayed. If we set it to true, we'll see both the feed update and the toast.

Using the data payload on a workflow trigger allows for a lot of customization. You could pass in all sorts of different properties and use them to determine how your UI should respond to different events.
Wrapping up
Real-time toasts are a pretty cool concept, and with Knock's feed API, you can power all sorts of in-app UI elements like banners, modals, or cards.
In this tutorial, we covered:
- Installing and basic usage of the shadcn/ui toast component
- Displaying a toast when the real-time feed receives a message
- Conditionally displaying toasts based on the contents of the feed message
Using Knock's real-time capabilities and a bit of creative coding, the possibilities for engaging, responsive user interfaces are endless.
If you want to try out Knock to power your in-app notifications and toasts, you can sign up for free here. We have a generous free tier you can use to get started.
And as always, thanks for reading, and Knock on!